VilfoルーターをProton VPNでセットアップする方法
- 閲覧中
- 1 分
- カテゴリー
- ルーター
Vilfo(新しいウィンドウ)ルーターをProton VPNでセットアップする方法は二つあります。
お使いのルーターを初めてセットアップする場合
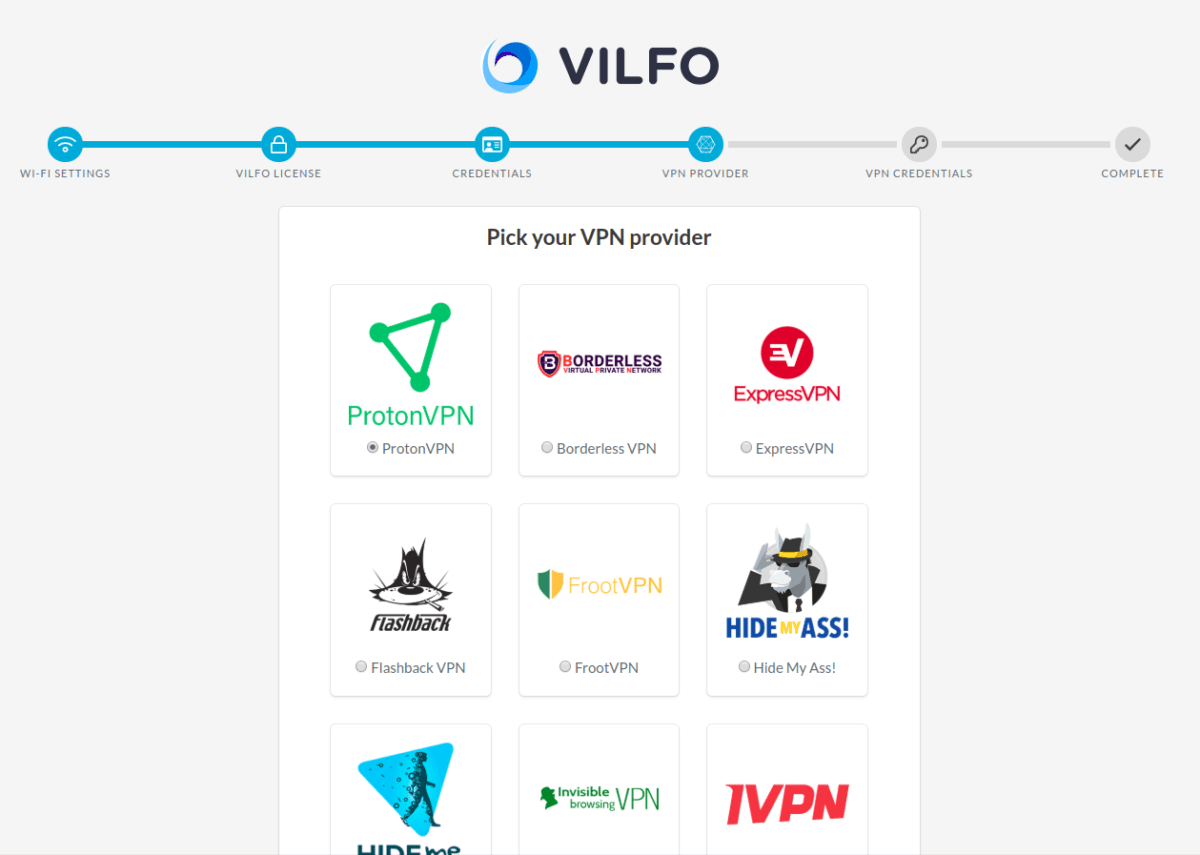
1. Vilfo (新しいウィンドウ)ルーターのセットアップ中に、ルーターで構成するVPNプロバイダーを選択できるVPNプロバイダーセクションが表示されます。Proton VPNが表示されるまで下にスクロールし、これを選択します。
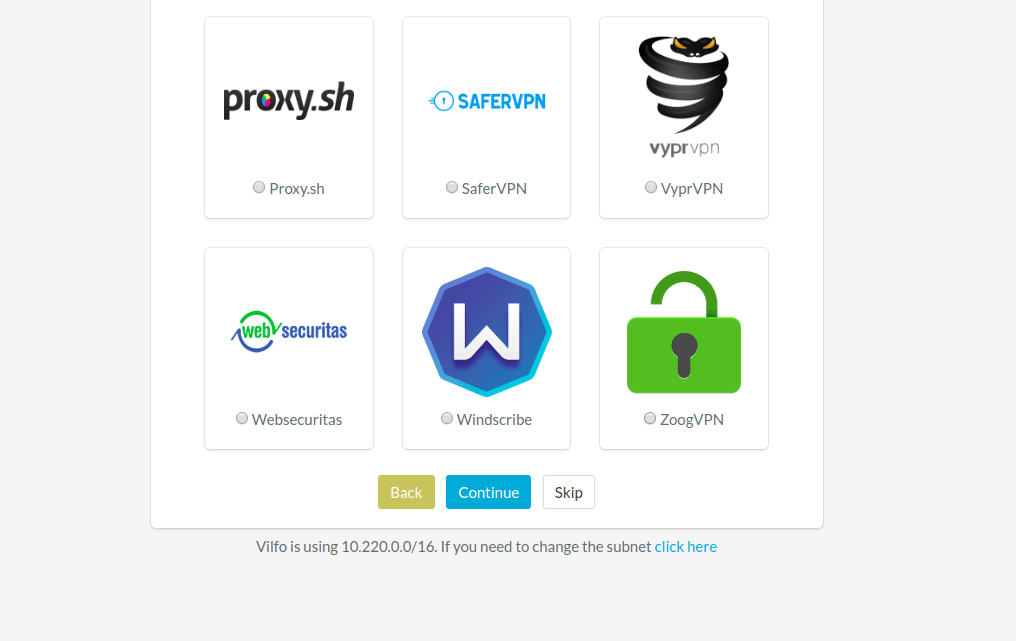
2. ページの一番下までスクロールし、続行をクリックします。
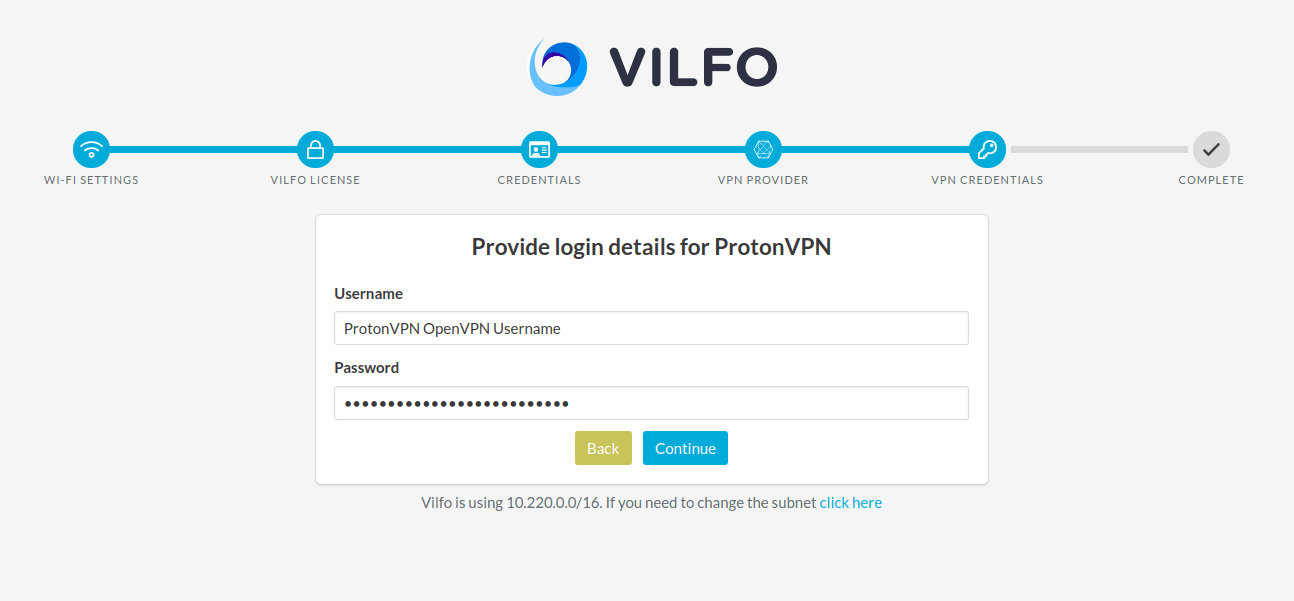
3. アカウントページで確認できるOpenVPN認証情報を入力し、続行をクリックします。
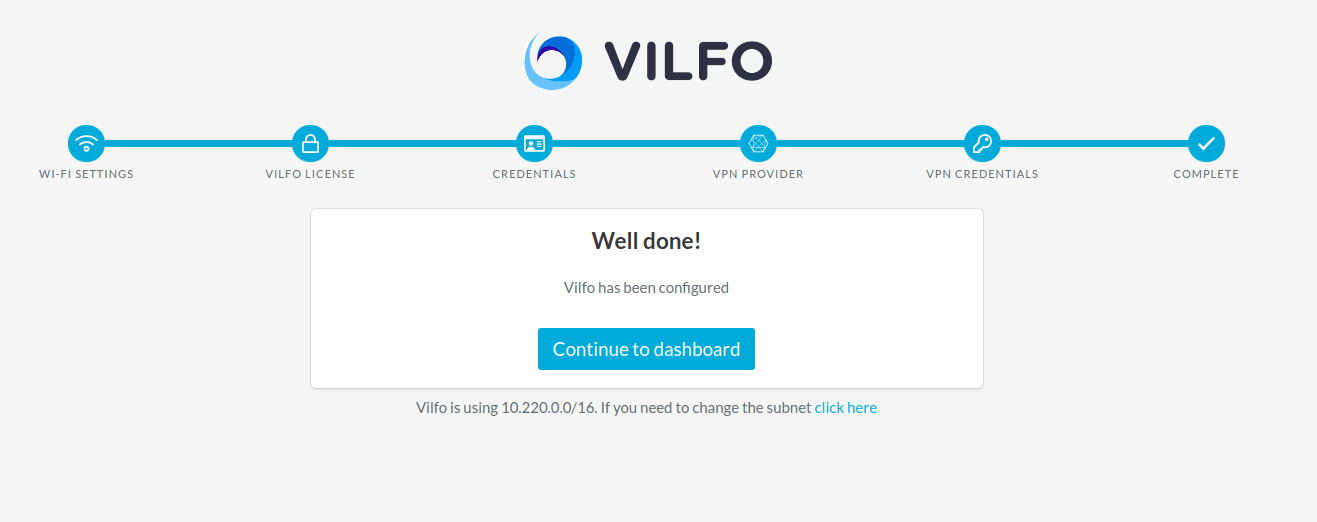
4. ダッシュボードへ続行をクリックします。
ルーターのセットアップがすでに完了している場合
Vilfo(新しいウィンドウ)ルーターのセットアップページでVPNの構成をスキップした場合:
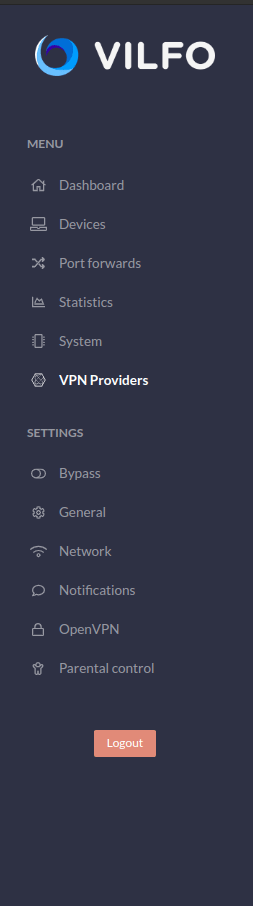
1. ダッシュボードメニュー → VPNプロバイダータブに移動します。
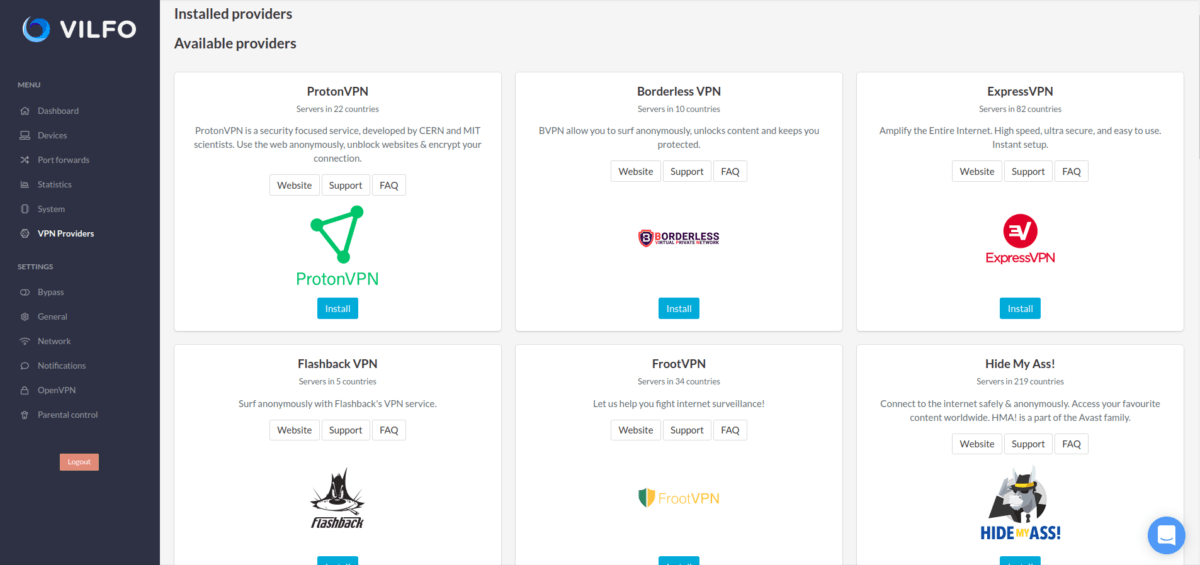
2. 利用可能なプロバイダーの一覧でProtonVPNを見つけ、インストールボタンをクリックします。
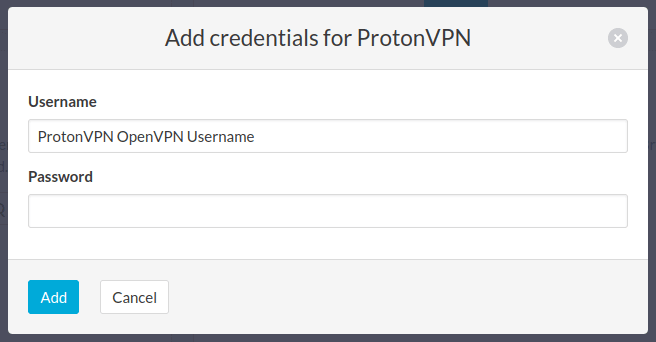
3. Proton VPNのOpenVPN認証情報を入力し、追加をクリックします。これらは、Proton VPNアカウントページで確認できます。
注意1:OpenVPNのユーザー名とパスワードは、通常のProtonアカウントのユーザー名およびパスワードと異なります。
注意2:NetShield DNSフィルタリング機能を使用するには、ユーザー名の末尾に「+f1」を追加してマルウェアをブロックするか、「+f2 」を追加してマルウェア、広告、トラッカーをブロックします(例:123456789+f2)。
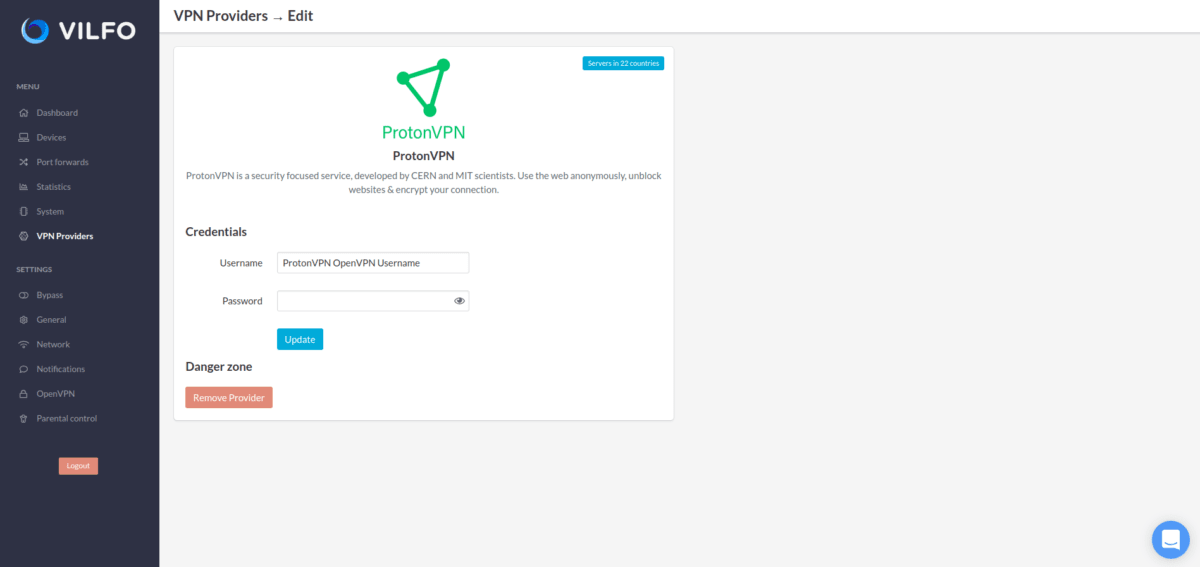
4. 認証情報を追加し、Proton VPNプロフィールがインストールされると、以下のような画面が表示されます。
以上で、ルーターでVPNを使用する準備は完了です!
VilfoルーターをProton VPNに接続する方法:
The first step is to go on to the Devices list and find all of your connected devices. Now by that group of devices you will find a Proton VPN name with a selection space, click on that space and you will be able to select the appropriate server for your current subscription plan. When you have selected the server, click on the Connect button on the right side of it.
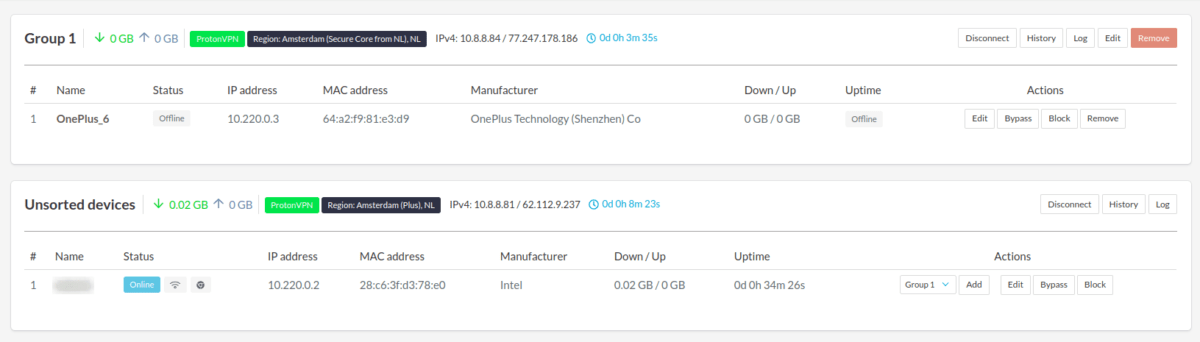
This is what it will look like when you have successfully connected to the server.
Vilfo(新しいウィンドウ) has a lot of great features, including split tunneling for different devices.You can create a new group for the devices that are connected to the router and then split them in to those groups.
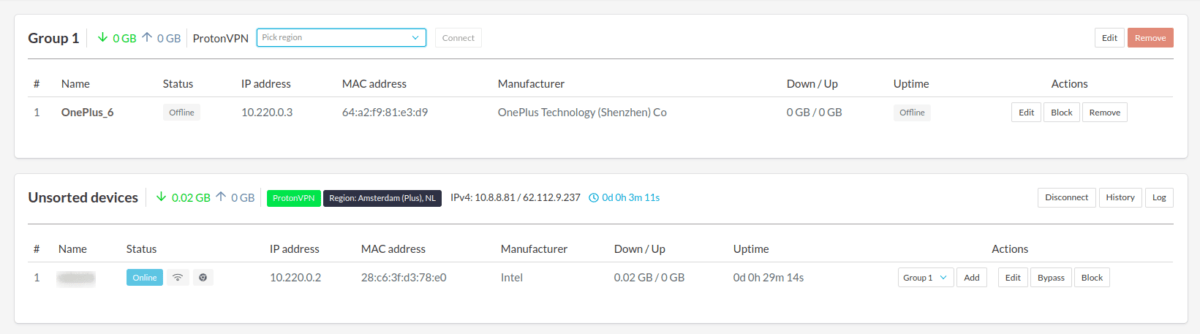
異なるデバイスグループで、複数の異なるVPNトンネルを同時に実行することもできます!
また、OpenVPNタブには組み込みのキルスイッチがあり、そこでプロトコルの設定をUDPからTCPに変更することも可能です。