如何設定 Vilfo 路由器與 Proton VPN
- 閱讀
- 1 分鐘
- 類別
- 路由器
有兩種方法可以設定 Vilfo(新視窗) 路由器搭配 Proton VPN:
當您首次設定路由器時
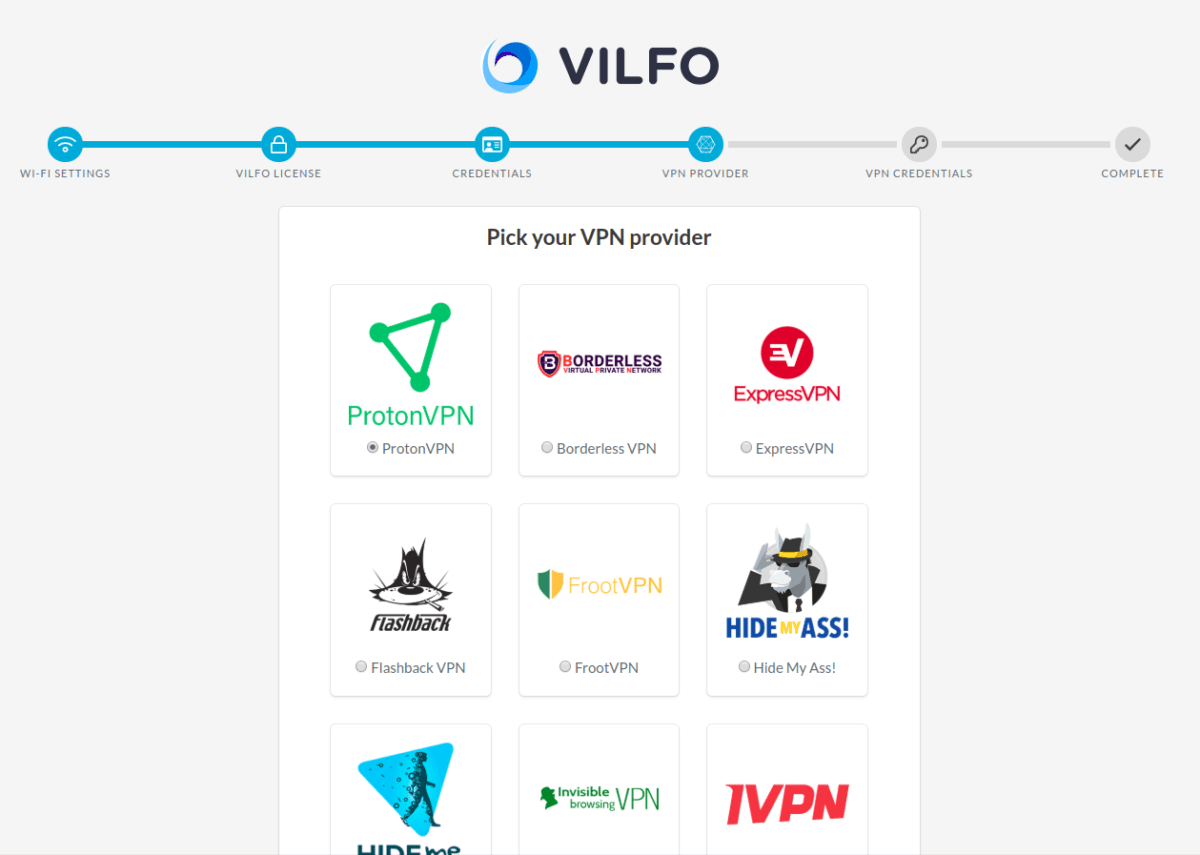
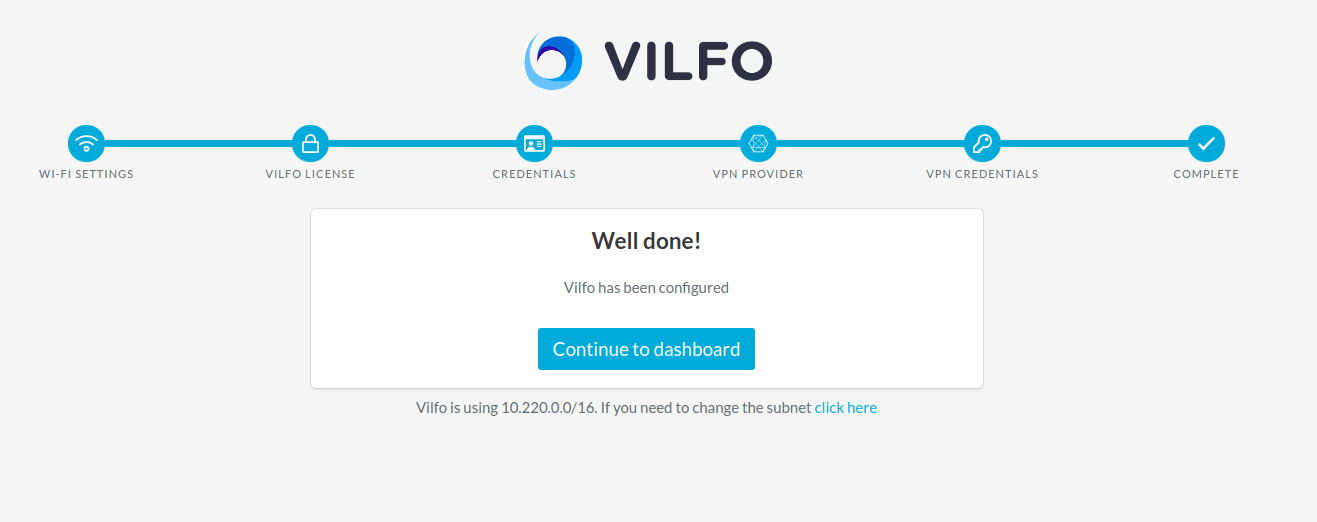
1. 在設定 Vilfo (新視窗)路由器的過程中,您會看到 VPN 提供商區段,您可以在此選取要在路由器上設定的 VPN 提供商。向下捲動,直到看見 Proton VPN,然後選取它。
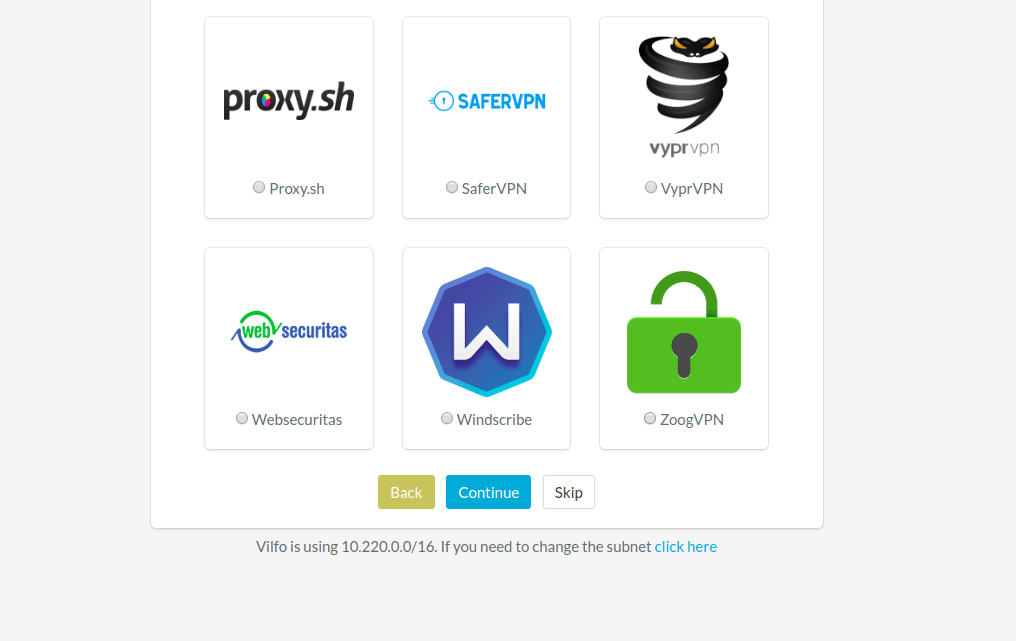
2. 向下捲動至頁面底部,然後點擊繼續。
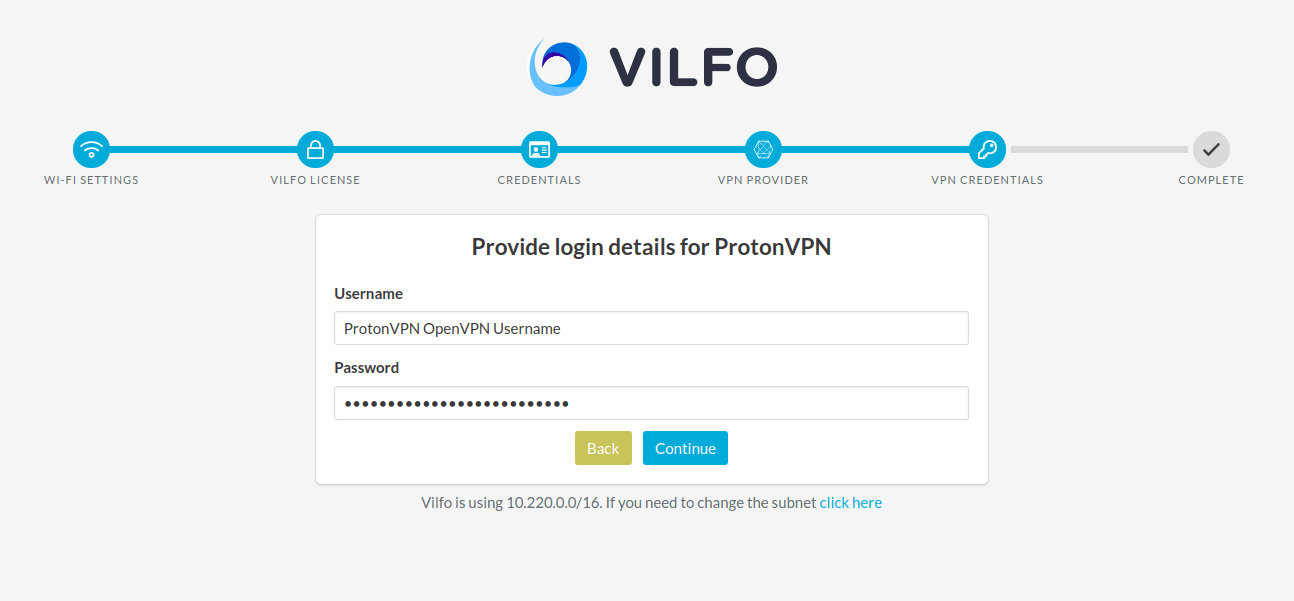
3. 輸入您可以在帳號頁面中找到的 OpenVPN 憑證,然後點擊繼續。
4. 點擊繼續前往儀表板。
當您的路由器已設定完成
如果您略過了 Vilfo(新視窗) 路由器設定頁面上的 VPN 組態:
1. 前往您的儀表板選單 → VPN 提供商索引標籤。
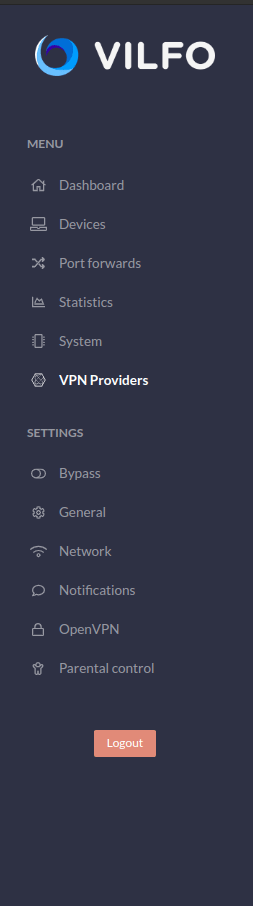
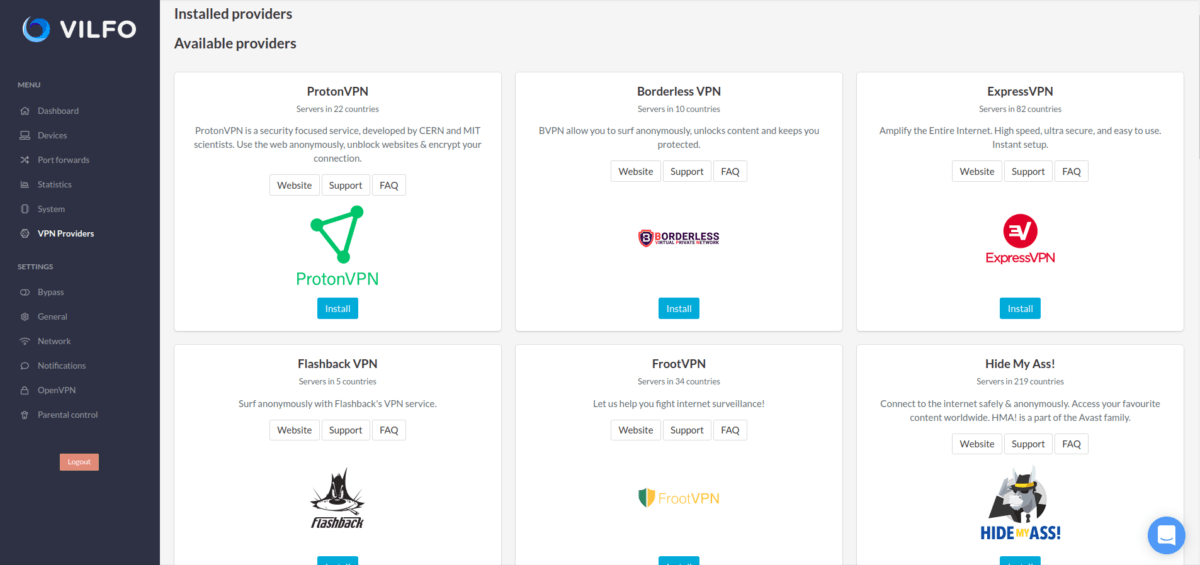
2. 在可用的提供商清單中,尋找 ProtonVPN 並點擊安裝按鈕。
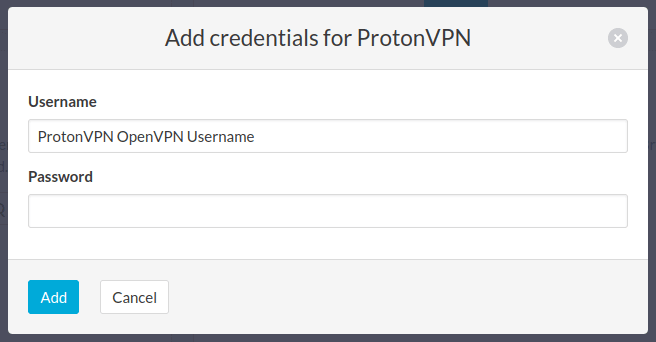
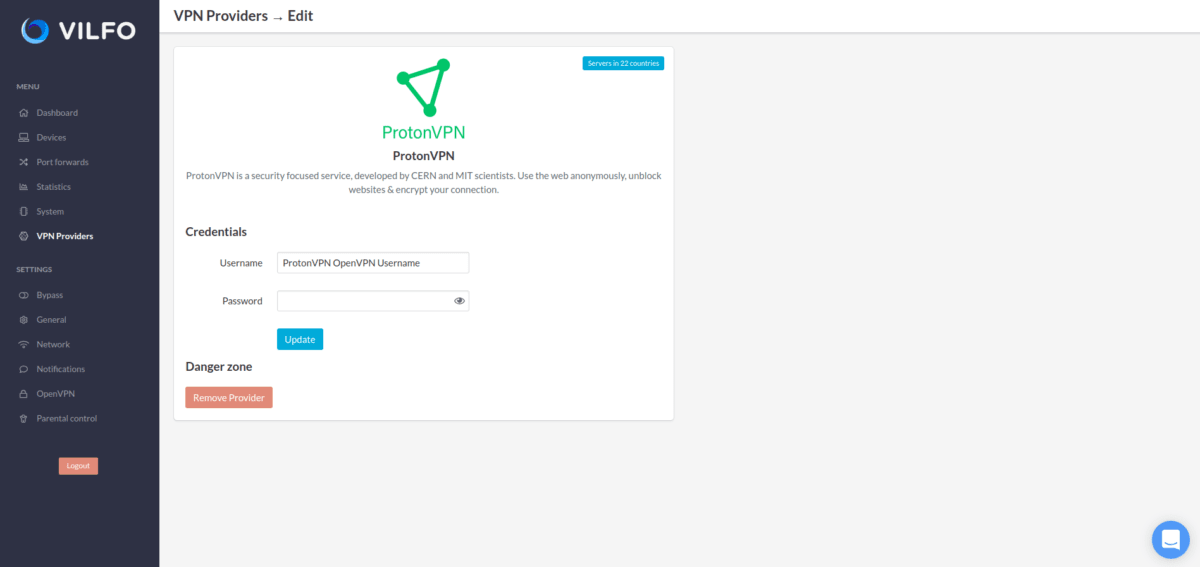
3. 輸入您的 Proton VPN OpenVPN 憑證,然後點擊加入。 您可以在 Proton VPN 帳號頁面上找到這些資訊。
注意事項 1:您的 OpenVPN 使用者名稱與密碼與您一般的 Proton 帳號使用者名稱與密碼並不相同。
注意事項 2:若要使用我們的 NetShield DNS 篩選功能,請在您的使用者名稱後方加上後綴 +f1 以攔截惡意軟體,或加上 +f2 以攔截惡意軟體、廣告和追蹤程式(例如 123456789+f2)。
4. 加入憑證後,安裝 Proton VPN 個人檔案時,您應該會看到如下畫面。
就這樣,路由器已準備好搭配 VPN 使用!
如何將 Vilfo 路由器連線至 Proton VPN:
The first step is to go on to the Devices list and find all of your connected devices. Now by that group of devices you will find a Proton VPN name with a selection space, click on that space and you will be able to select the appropriate server for your current subscription plan. When you have selected the server, click on the Connect button on the right side of it.
This is what it will look like when you have successfully connected to the server.
Vilfo(新視窗) has a lot of great features, including split tunneling for different devices.You can create a new group for the devices that are connected to the router and then split them in to those groups.
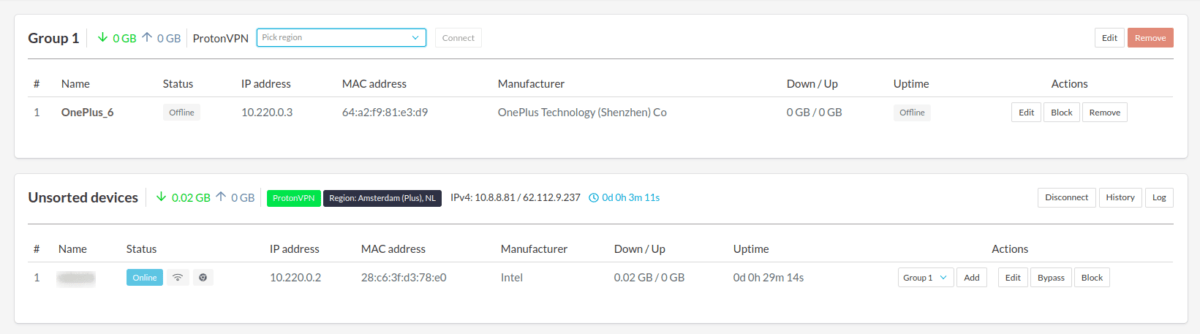
您也可以在不同的裝置群組上同時執行多個不同的 VPN 通道!
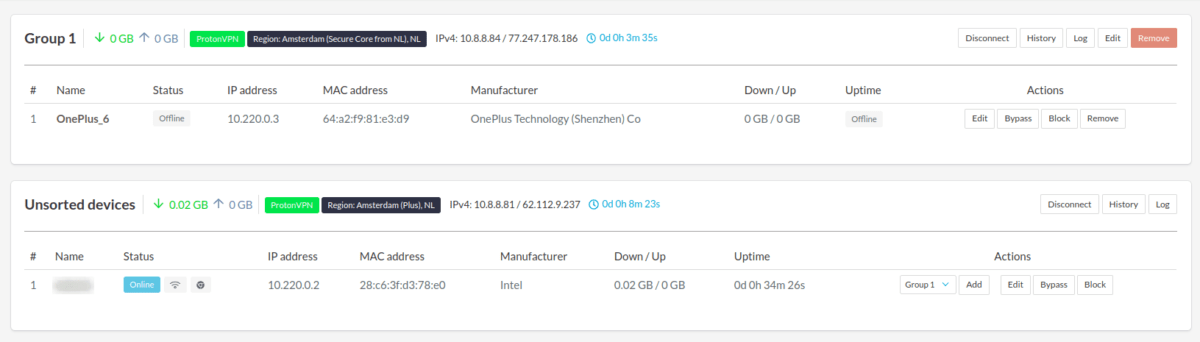
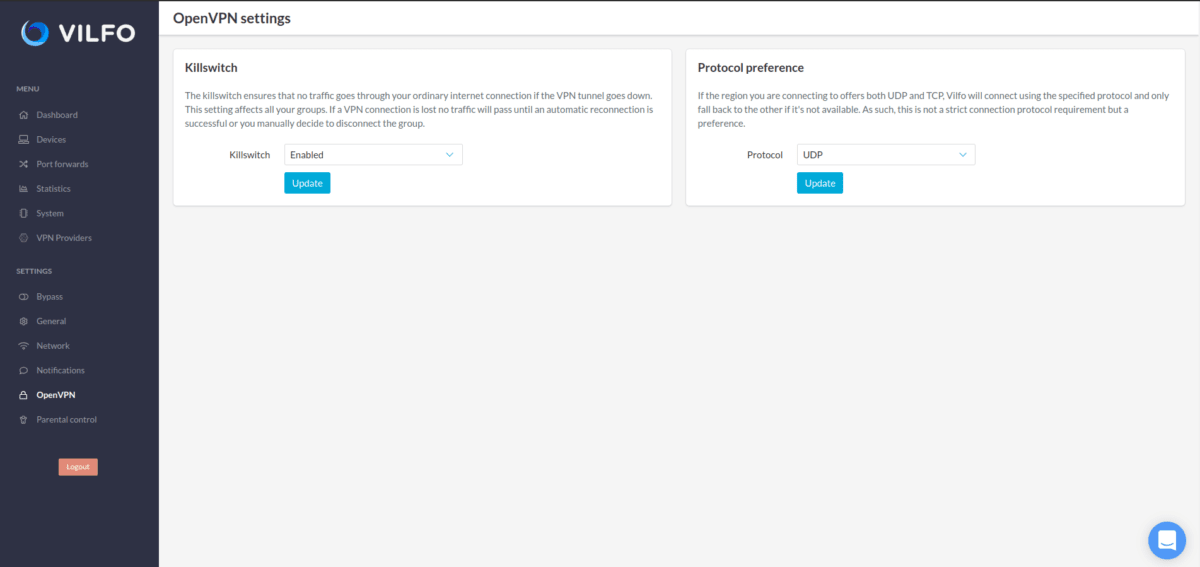
OpenVPN 索引標籤中也內建了 終止開關 (killswitch),您也可以在該處將協定偏好設定從 UDP 變更為 TCP。