How to use Proton VPN on your Chromebook

You can protect your privacy on the internet with the Proton VPN Android app when using your Chromebook.
This requires a Chromebook that supports Android apps and has the Google Play Store installed. If your Chromebook was released in 2017 or after, it should meet these requirements.
If you have a Chromebook that was released before 2017, you should be able to manually enable Android and Play Store support(new window), depending on your device. Please be aware, though, that any Chromebook this old is unlikely receive security updates from Google.
What does the Proton VPN protect on a Chromebook?
You can use the Proton VPN Android app to secure all connections from your Chromebook. This includes Chrome OS connections, such as those from the Chrome browser and Files apps, and connections from Android apps and Linux apps running inside a Linux container (Crostini).
How to install Proton VPN on Chrome OS
1. In the Chrome browser, click the Play Store link below.
This will open the Proton VPN download page in the Play Store app. Alternatively, you can launch the Play Store app from your Shelf and search for Proton VPN manually.
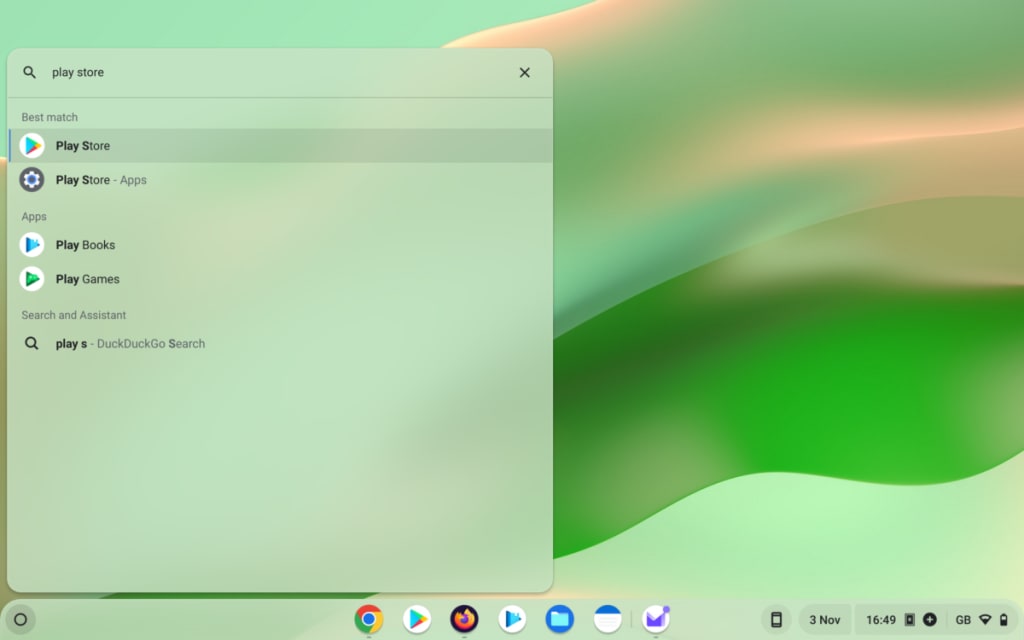
2. Install the app.
How to use Proton VPN on a Chromebook
Once you’ve installed the Proton VPN on your Chromebook, you’ll need to sign in and connect to a VPN server to protect your browsing.
Sign in to Proton VPN
Open Proton VPN from your Shelf and click Sign in

If you haven’t created a Proton VPN account yet, tap or click the Create an Account button or click here. Note that if you’ve signed up for any Proton service (such as Proton Mail or Proton Drive), you can use the same username and password to sign into Proton VPN.
Enter your Proton Account username and password, then click Sign in.
Connect to the fastest country allowed by your plan
If you’re on our Free plan, select Fastest country → Connect to automatically connect to the fastest server for your location. Free servers are located in the Netherlands, Japan, Romania, Poland, Norway, Switzerland, Singapore, Mexico, Canada, and the United States.

The first time (only) that you connect to Proton VPN, you’ll be asked confirm the VPN connection request. Tap OK to continue.
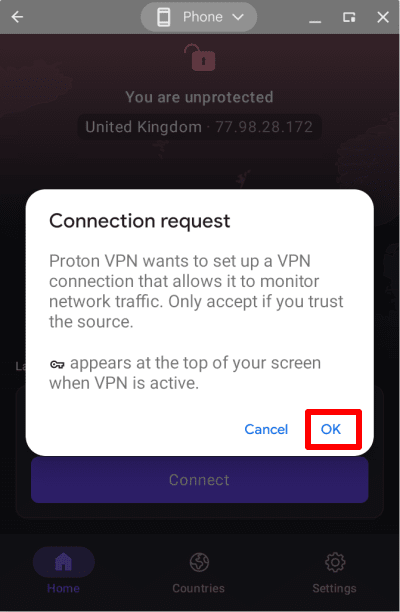
If you see a screen titled Action needed to connect to VPN instead, please see this guide.
If you’re on a paid plan, select Fastest country → Connect to automatically connect to the fastest server for your location. We have Plus servers located in over 70 countries worldwide (you can also select Fastest country in the Countries tab — see below).
Change server (if you’re on a Free plan)
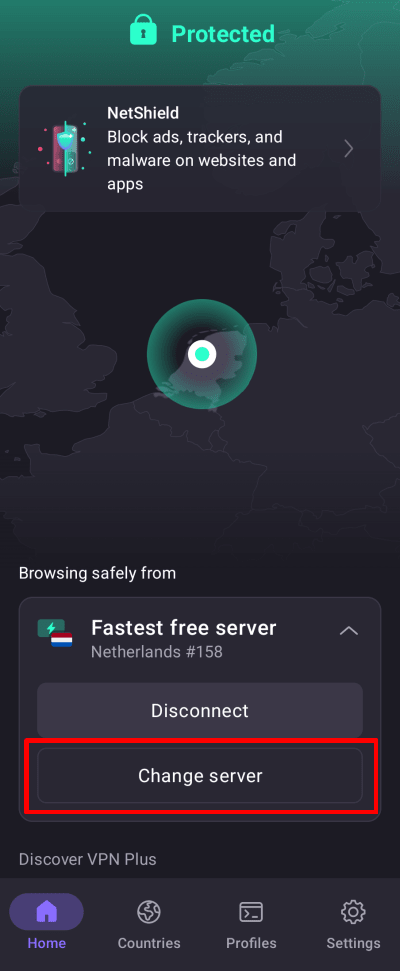
Once connected to a random free server, you can change the server to one in a different, random country following a short cooldown period. To do this, simply select Change server on the Home screen.
Connect to a specific location (if you have a paid Proton VPN plan only)
If you are on any paid Proton VPN plan, you can connect to any of our high-speed servers in over 90 countries. To connect to the fastest server in the country of your choice, open the Countries tab and click or tap on a country.
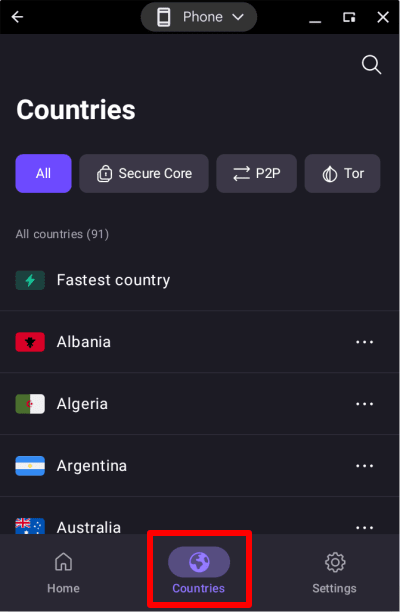
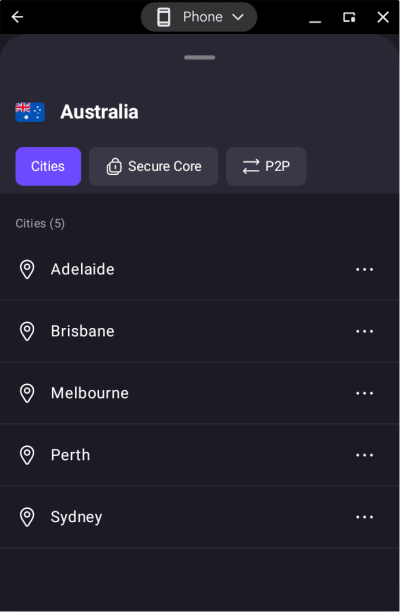
To connect to a specific city in a country, click or tap … next to the country, and select a city.
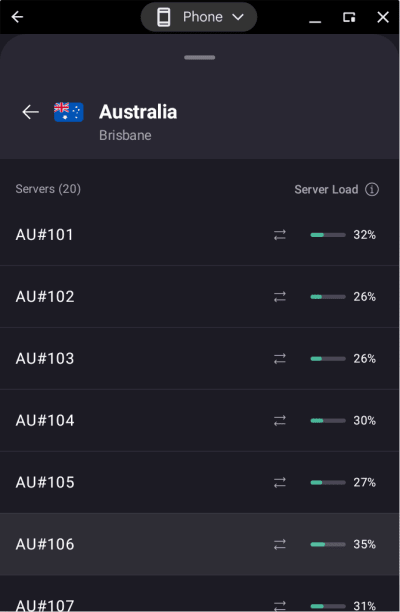
To connect to a specific server in a city, cl.click or tap … next to the city, and select a server.
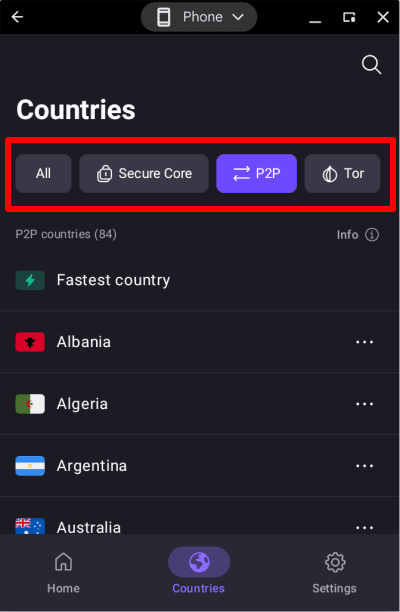
To connect to one of our special Secure Core, P2P, or Tor servers, click or tap on the relevant tab and select from the list.
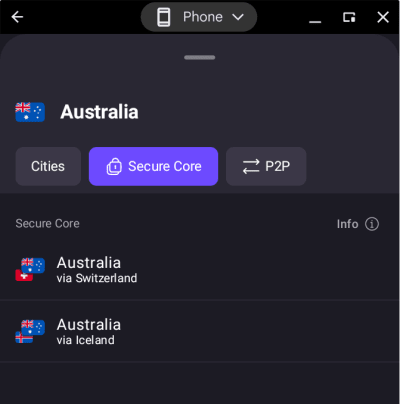
To use our Secure Core double-VPN feature, click or tap on the Secure Core tab and select an exit country (the country you’ll appear to access the internet from). You can now select the Secure Core server location you’d like the connection to be routed through.
You can also find any country, city, or server by tapping the search icon (magnifying glass) and typing its name into the search field.
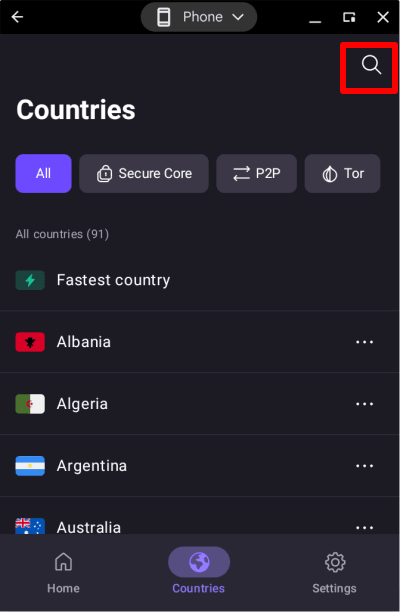
Recent and pinned countries, cities, and servers
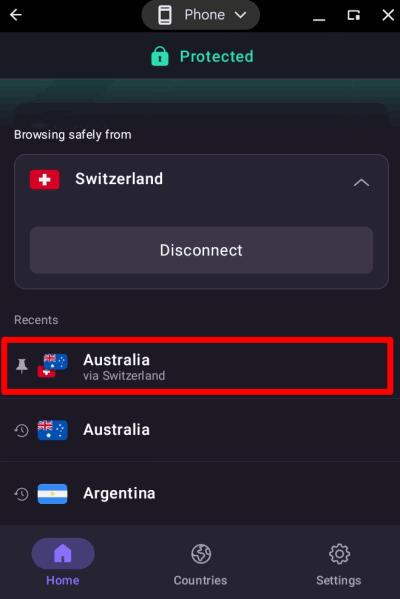
At the bottom of the home screen, you can see a list of countries you recently connected to. Simply tap or click on one of these to connect to the same server as you did before (in the example, if you previously used Secure Core to connect to an exit server in Australia via Switzerland, clicking or tapping it will set up the same Secure Core connection this time).
To pin an item to the Recents list, swipe right on the location (if you’re using a mouse or trackpad on your Chromebook, hold down the left mouse or trackpad button while swiping right with the mouse or trackpad).
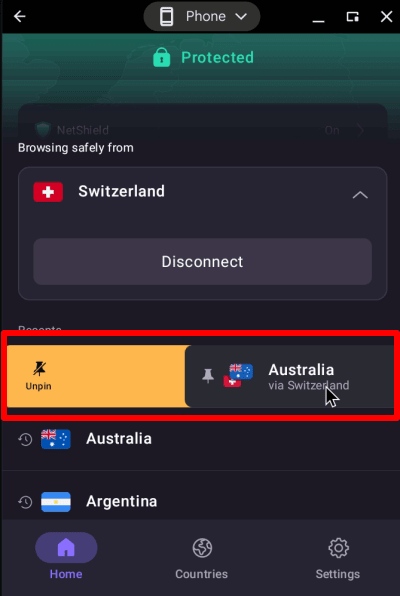
The Proton VPN app will now show the pinned item at the top of the Recents list with a “pin” icon next to it. This pinning feature replaces the Connection Profiles in older versions of our Android app.
Learn more about Connection Profiles and pinned items
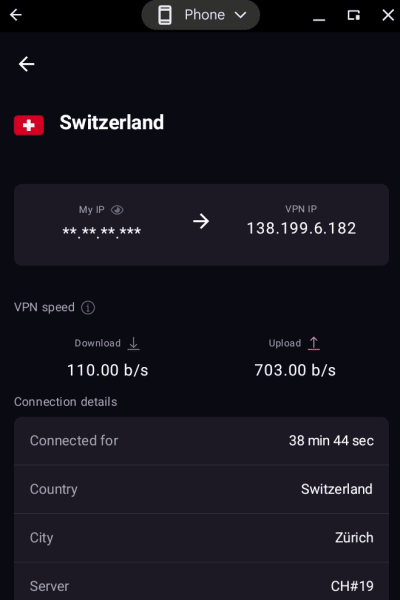
To see details about the server you’re connected to, tap the active connection on your home screen.
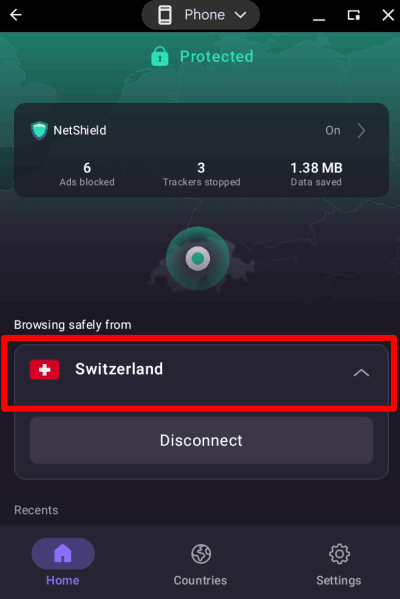
You can view connection details, such as how long you’ve been connected, the IP address of the VPN server, the server load, the VPN protocol used, and more,
Proton VPN Settings
Click or tap on the Settings tab (gear icon) to access the app’s more advanced settings and features.
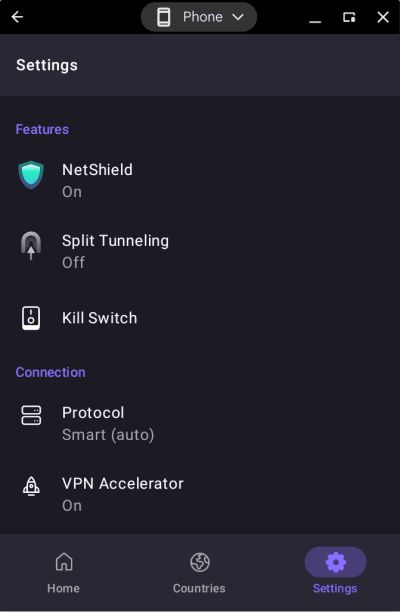
Features
Connection
- Protocol
- VPN Accelerator
- Advanced settings (see below)
General
- Notifications – Opens Android’s notification settings for the Proton VPN app
- DNS leak protection (this setting is always enabled)
Support
- Help Center (opens the Proton VPN support pages in your browser)
- Report an Issue
- Debug logs (our customer support staff may request these to help troubleshoot problems)
Improve Proton
- Help us fight censorship
- Rate Proton VPN (open the Proton VPN web page on Google Play
Advanced settings
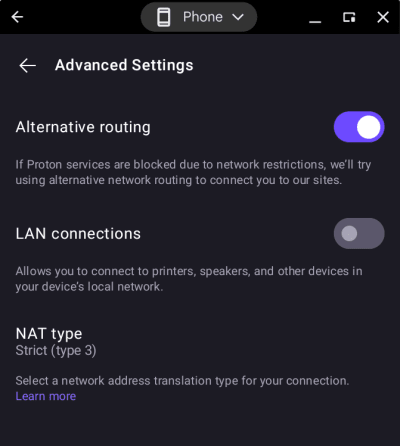
- Alternative routing(new window)
- LAN connections (enabling this allows you to connect to other devices on your local network (such as printers and LAN servers)
- NAT type
At the bottom of the page, you can Sign out . You can also find the version number of the Proton VPN app you’re using, which can be useful when troubleshooting.