How do I install and uninstall Proton VPN on Windows?
The best way to use Proton VPN on Windows is using our dedicated app for Windows 7+. This offers a wide selection of advanced features, including:
- Secure Core
- P2P
- Tor
- VPN connection profiles
- OpenVPN, WireGuard®, and Stealth VPN protocols with Smart Protocol selection
- NetShield Ad-blocker
- Kill switch and advanced kill switch
- Port forwarding
- Split tunneling
- VPN Accelerator
- Custom DNS
- Comprehensive IPv6 and DNS leak protection
Proton VPN’s mission is to make privacy the default for everyone, and we will always offer a 100% free service for those who need us the most. However, to access many of our optional advanced features, you’ll need a paid Proton VPN plan.
In this support article, we’ll show you how to install and uninstall the Proton VPN Windows app.
Learn how to use the Proton VPN Windows app
It’s also possible tho manually configure third-party VPN clients to use Proton VPN.
- Learn how to use Proton VPN with the OpenVPN GUI on Windows
- Learn how to manually configure WireGuard on Windows
How install the Proton VPN Windows app
By default, Windows 10 and 11 only allow you to install apps from the Microsoft Store. To install the Proton VPN app, you’ll need to allow apps to be installed from other sources. To do this (if you haven’t done so already), open Windows Settings → Apps & features → Choose where to get apps and select Anywhere from the dropdown menu.
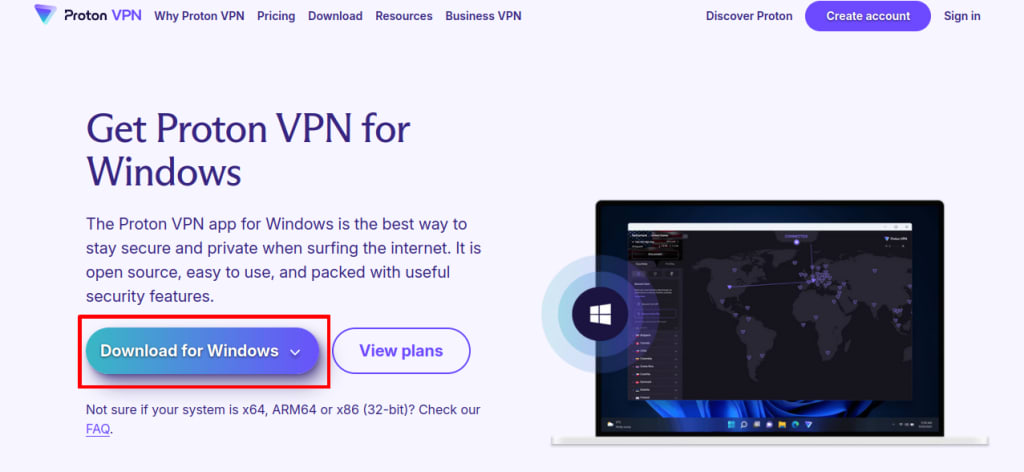
1. Visit our Proton VPN for Windows page and click the Download Proton VPN button (if you’re running a 32-bit version of Windows or are using an ARM device, click V and select the correct version from the dropdown menu).
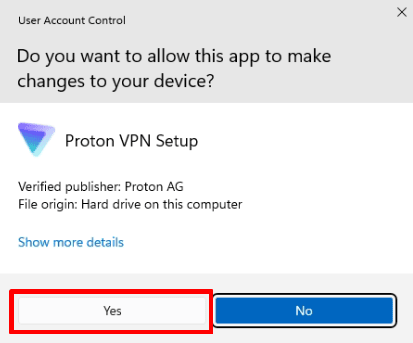
2. Once you’ve downloaded the EXE file, double-click on it to open it and click Yes when asked if you want to allow the app to make changes to your device.
3. This will open the Proton VPN installation wizard. Choose the language you’d like to use from the dropdown menu and click OK.

4. Click Next to use the default Windows Start menu folder for Proton VPN. If you want to use a different folder, click Browse and locate where you’d like Proton VPN to appear in your Start menu. Click Next when you’re done.

- You can automatically install other Proton apps included in your plan. Deselect any that you don’t wish to install, then click Install to continue.
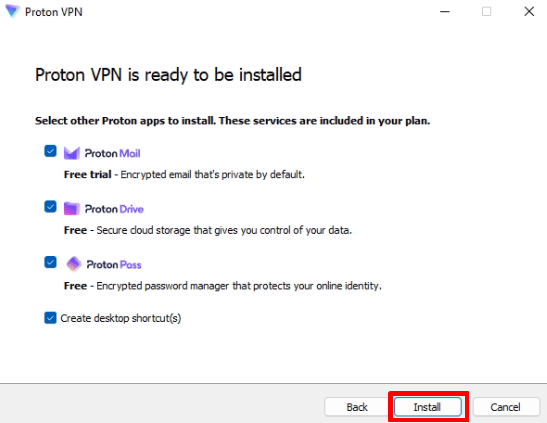
- Review your choices and select Install to continue.

7. Wait for the app to install onto your system.

8. Once the app is installed, the setup wizard will close and the Proton VPN app will start. You can now sign in to your Proton Account.
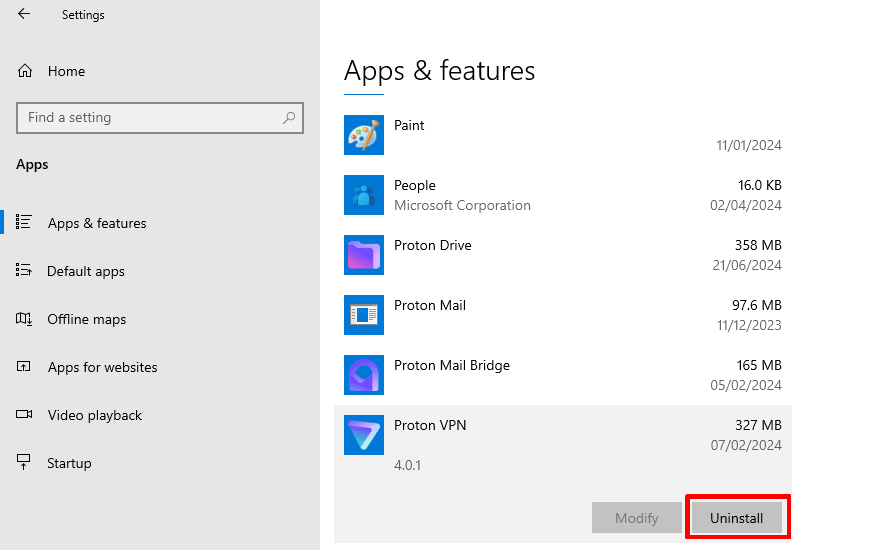
How uninstall the Proton VPN Windows app
Windows 11
Go to Start → Settings → Apps → Apps & features → Proton VPN → ⋮ → Uninstall.

Windows 10
Go to Start → Settings → Apps → Apps & features → Proton VPN → Uninstall.