


How to add new users to your organization
To add users to your Proton VPN for Business plan, you must first create an organization.
Learn how to create an organization
Once you have created an organization, you can add users to it. The number of users you can add depends on the number of licenses you purchased as part of your plan.
Learn how to add more licenses
There are two ways you can add users to your organization:
- Individual users — If you’re a small organization or only have a few users, you can fill out each user’s details in your Proton VPN settings.
- Multiple users — If you have multiple users, you can download a CSV template from Proton VPN settings, fill it in, and then upload it. We’ll then create all the users specified on the sheet. You’ll only be able to add as many users as you have licenses for, so check that you have sufficient licenses before uploading the CSV.
How to add individual users to your organization
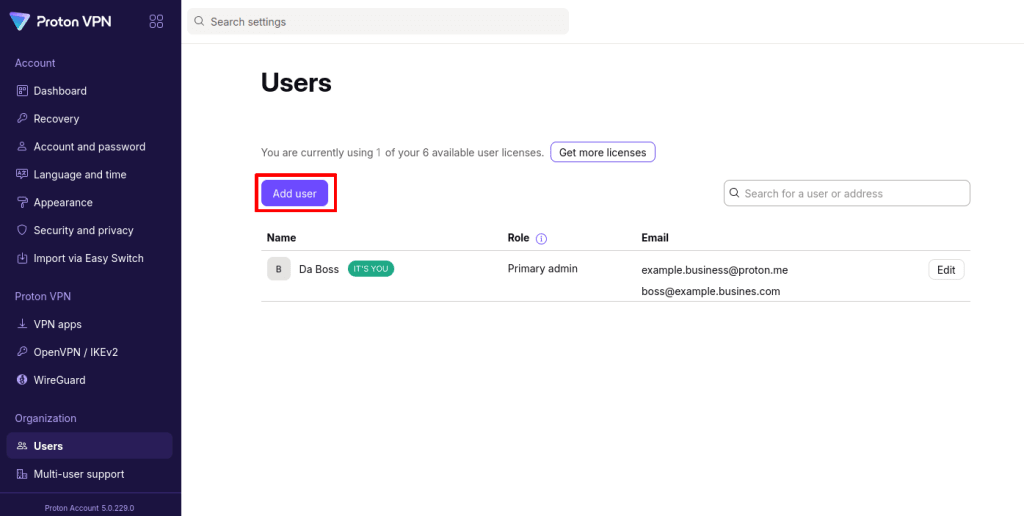
1. Sign in at account.protonvpn.com with your Proton Account username and password and go to Users → Add user.
2. Enter the user’s email address and username, and password into the correct fields.
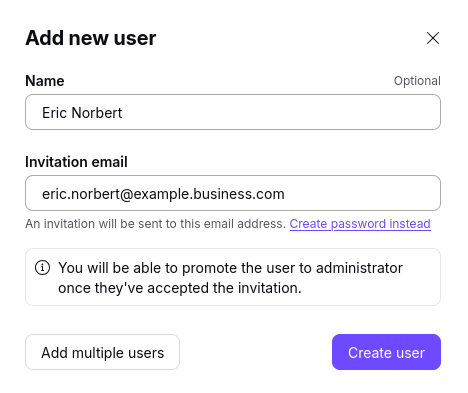
3. The new user will appear on the Users screen and will be sent an invitation. Once they accept the invitation, they’ll be prompted to create a password for their new Proton account.

Learn how to edit user accounts
How to add multiple users to your organization
1. Sign in at account.protonvpn.com with your Proton Account username and password and go to Users → Add user.
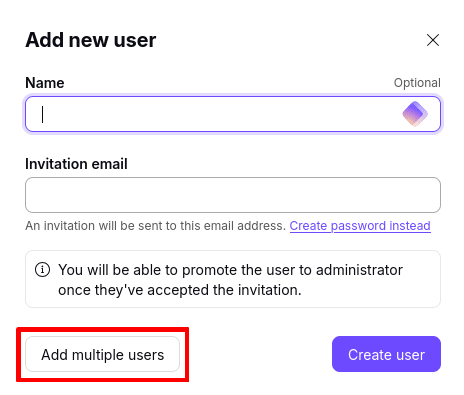
2. Select Create multiple users.
3. Select Download our CSV template.
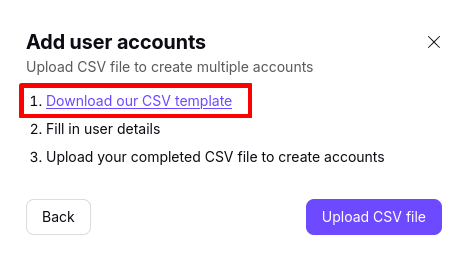
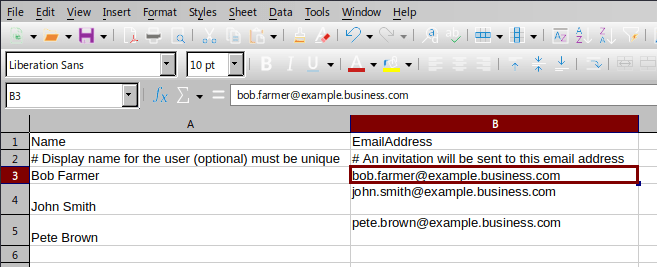
4. This will download a CSV file. Open it with a spreadsheet program such as Microsoft Excel, Apple Numbers, or Libre Calc and edit with the correct details of your users. Save the edited file when you’re done.
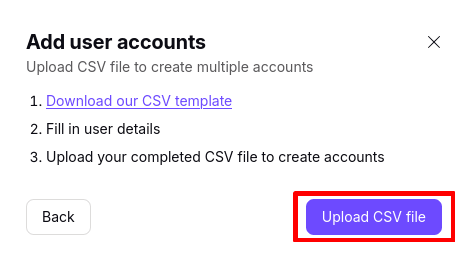
5. Back on your Proton VPN account page, click Upload CSV file and locate the file you just saved using your system’s default file manager.
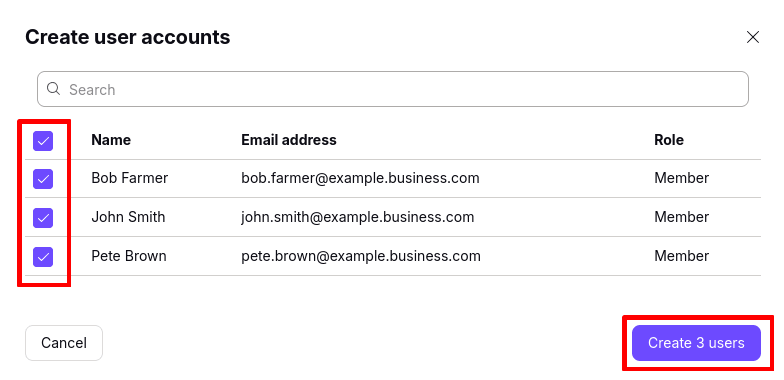
5. You’ll see a list of all the users’ details from your CSV file. Click the checkboxes to select the users you with to add from the list, and click Create [x] users when you’re ready.
Depending on how many users you’re adding, uploading the CSV might take several minutes. Don’t close the page or disconnect from the internet, or you’ll interrupt the upload.
Once done, your new users will appear on the Users screen, and will be sent an invitation. Once they accept the invitation, they’ll be prompted to create a password for their new Proton account.
