How to set up Proton VPN on AsusWRT-Merlin routers using OpenVPN
- Reading
- 5 mins
- Category
- Routers
You can set up Proton VPN on your AsusWRT-Merlin router so that all devices that connect to the internet though it will be protected by Proton VPN.
This guide shows you how to do this using the OpenVPN VPN protocol on Asus routers running AsusWRT-Merlin firmware. A Proton Account is required, but you can sign up for one for free(new window).
Before starting, you’ll need the following:
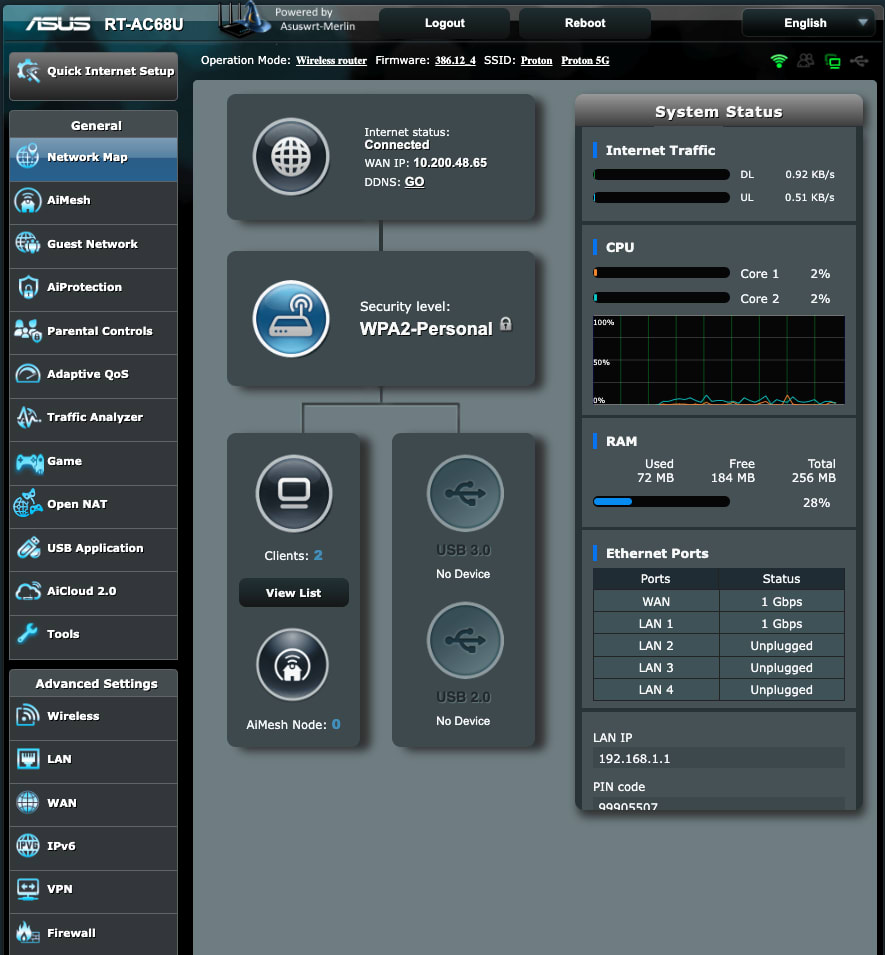
- A computer that’s connected to your LAN network so that you can access your AsusWRT-Merlin router web interface. To do this, enter 192.168.1.1 into your browser’s URL bar.
- Your OpenVPN username and password. These are different from your regular Proton VPN username and password. To find them, sign in to account.protonvpn.com and go to Account → OpenVPN username.
Note: To use our NetShield Ad-blocker feature, append the following suffixes to your username:
- +f1 to block malware
- +f2 to block malware, ads, and trackers (for example, username+f2)
- NetShield (Ad-blocker) is a premium feature only available with a Proton VPN Plus or Proton Unlimited plan.
How to set up Proton VPN OpenVPN on AsusWRT-Merlin routers
1. Download an OpenVPN configuration file
Sign in to Proton VPN using your Proton Account username and password at account.protonvpn.com, go to Downloads → OpenVPN configuration files, and download an OpenVPN configuration file. Be sure to Select Platform: Router.
Learn how to download an OpenVPN configuration file from Proton VPN
2. Open your Asus router’s admin panel and go to Advanced settings → VPN.
3. Select the VPN Client tab and choose OpenVPN.
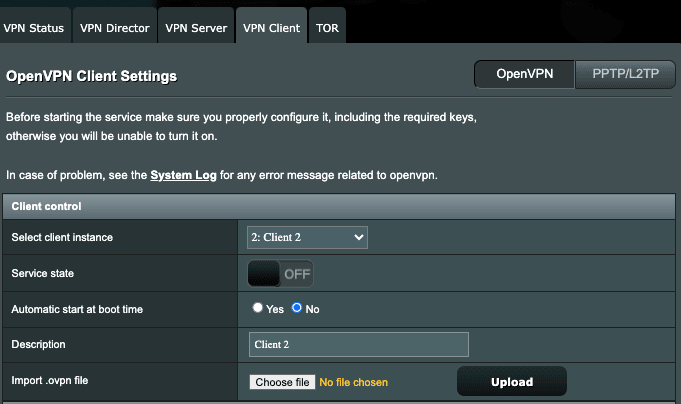
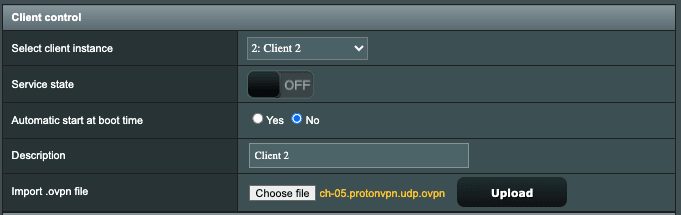
4. Click Choose file and locate the OpenVPN configuration file you just downloaded. Then click Upload.
5. The configurations from the file should autofill many of the settings fields (protocol, server address, port, authentication method, certificate settings, and custom configuration). You’ll need to fill in the remaining settings as follows:
Network settings:
- Interface type: TUN
- Protocol: selected protocol from OpenVPN configuration file (should autofill)
- Server address and port: leave autofilled
- Create NAT on tunnel: Yes
- Inbound Firewall: Block
- Accept DNS configuration: Exclusive
- Redirect Internet traffic through tunnel: Yes (all)
- Killswitch – Block routed clients if tunnel goes down: Select your preferred option

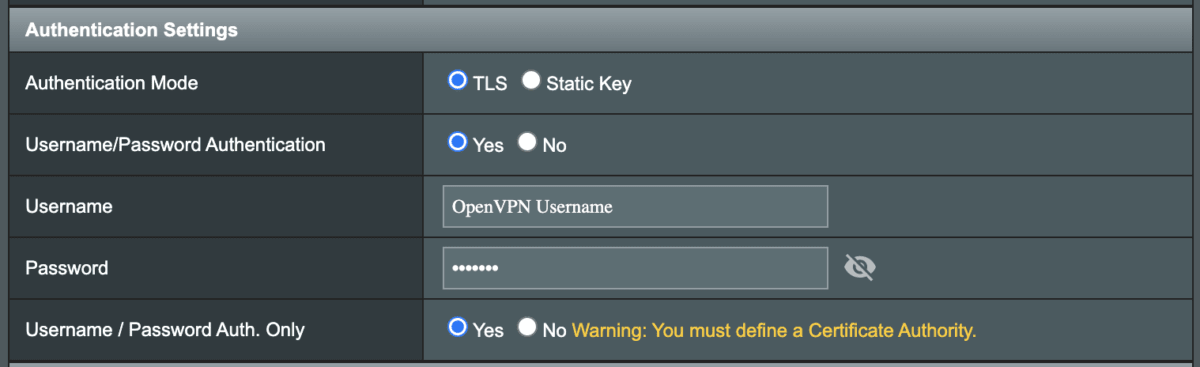
Authentication settings:
- Authorization Mode: TLS
- Username/password authentication: Yes
- Username and password: Your OpenVPN username and password (NOT your regular Proton VPN username and password)
- Username and password Auth only: Yes
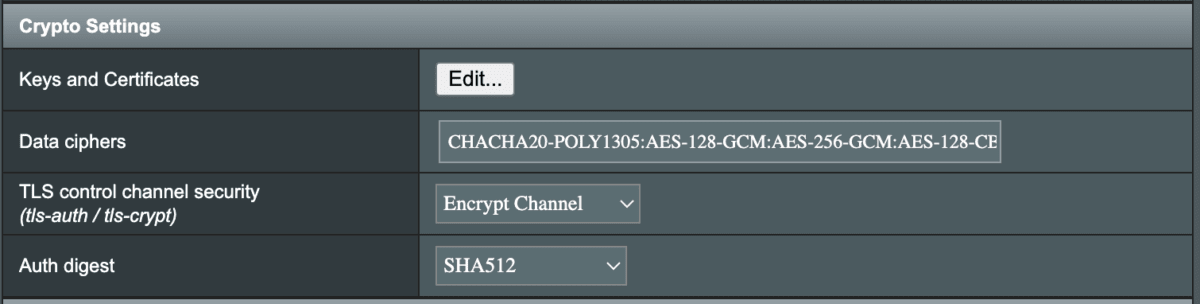
Crypto Settings:
Click Keys and Certificates → Edit… to check that the settings there have been pre-filled from the OpenVPN configuration file. The Static Key and Certificate Authority fields should be pre-filled, while all the other fields are blank. If this is the case, leave everything as is.
- Data ciphers: CHACHA20-POLY1305:AES-128-GCM:AES-256-GCM:AES-128-CBC:AES-256-CBC (this should be autofilled and might be slightly different)
- TLS control channel security: Encrypt Channel
- Auth digest: SHA512 (This might also be Default if using our new configuration files)
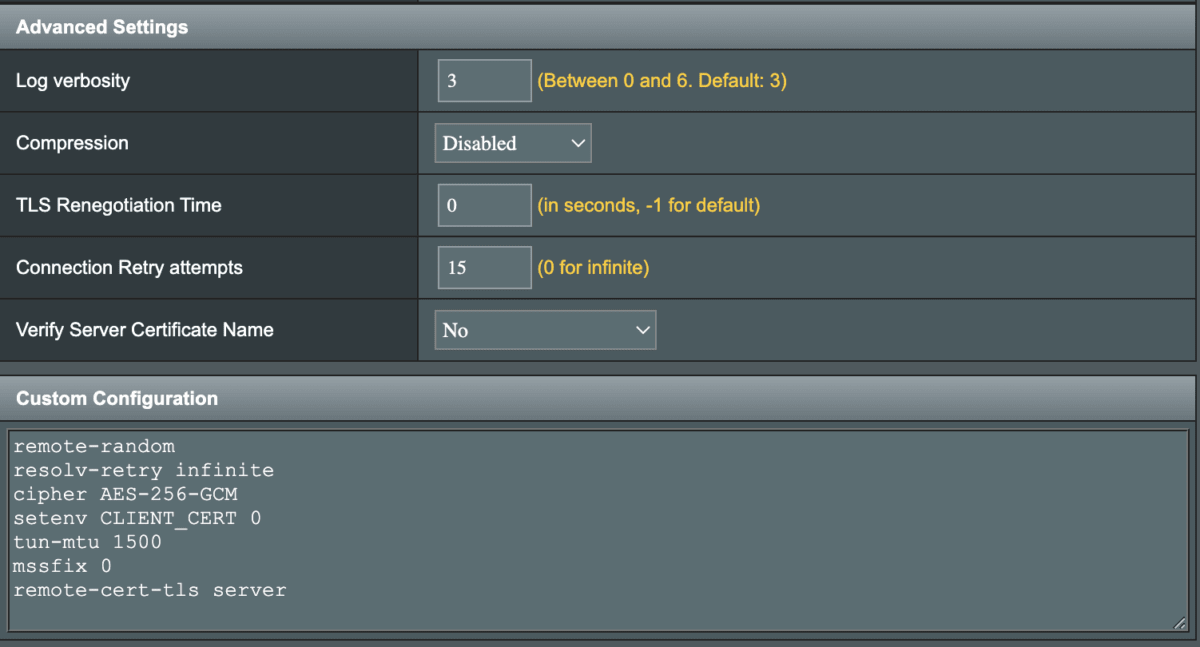
Advanced Settings:
- Log verbosity: Leave at the default setting of 3 unless you know what you’re doing
- Compression: Disabled
- TLS Renegotiation time: 0
- Connection retry attempts: up to you
- Verify Server Certificate Name: No
- Custom configuration: leave prefilled
6. Fill in description, choose Yes next to Automatic start at boot time, then click Apply.
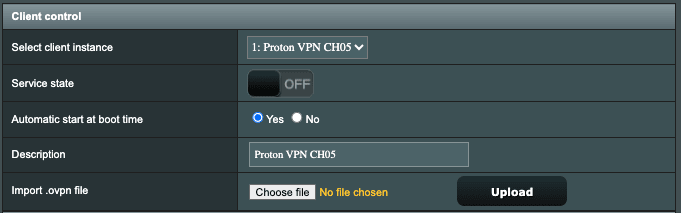
7. Toggle Service state to on. You should now see your new IP address next to the service state.
