How to configure Samsung Knox’s MDM to use Proton VPN
- Reading
- 8 mins
Businesses can use mobile device management (MDM) platforms to install and manage Proton VPN on their team’s Android devices.
This guide explains how to configure the MDM functionality of Samsung Knox(new window) to set up Proton VPN on your team’s Android devices. This will allow you to:
- Automatically install Proton VPN on your organization users’ Android devices
- Automatically sign your team members into Proton VPN
- Configure device restrictions
To get started, you’ll need:
- A Samsung Knox admin account for your organization
- To configure the Android Enterprise environment(new window) for use with Samsung Knox
In this guide, we’ll cover:
- How to add a new user
- How to configure Knox to install and manage Proton VPN on users’ devices
- How to set up a work profile on a user’s Android device
- Additional configuration options
Note: We encountered issues configuring Microsoft Intune using the Firefox browser, which were not present in Chrome.
Step one: Add new users
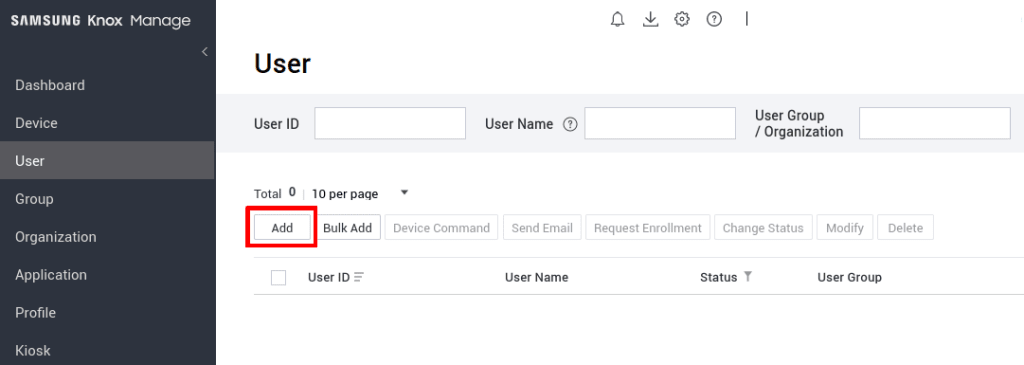
1. Sign in to your Samsung Knox admin account(new window) and go to Knox Manage → User → Add.
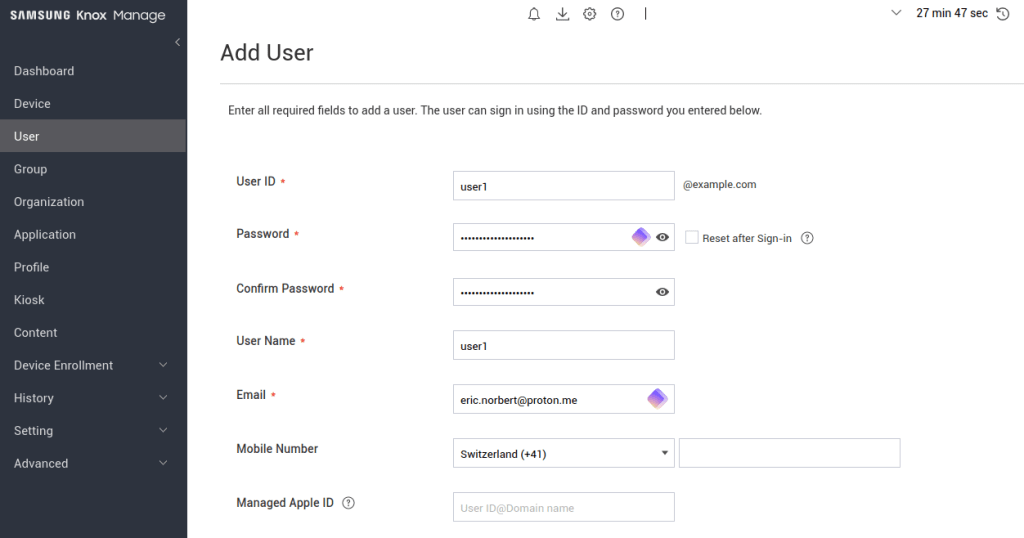
2. Fill in the new user’s details and click Save and & Request Enrollment (at the bottom of the page) when you’re ready. Be sure to make a note of the password you’re provided — you’ll need it to set up a business profile on the Android device (see step three).
Step two: Configure Knox to install Proton VPN on user’s devices
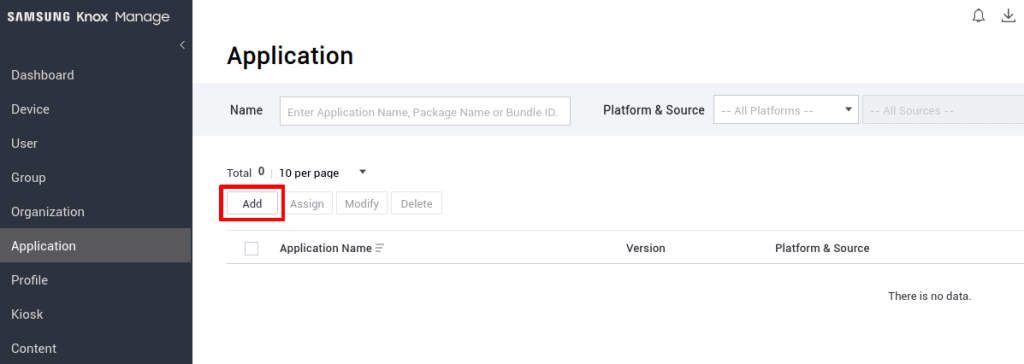
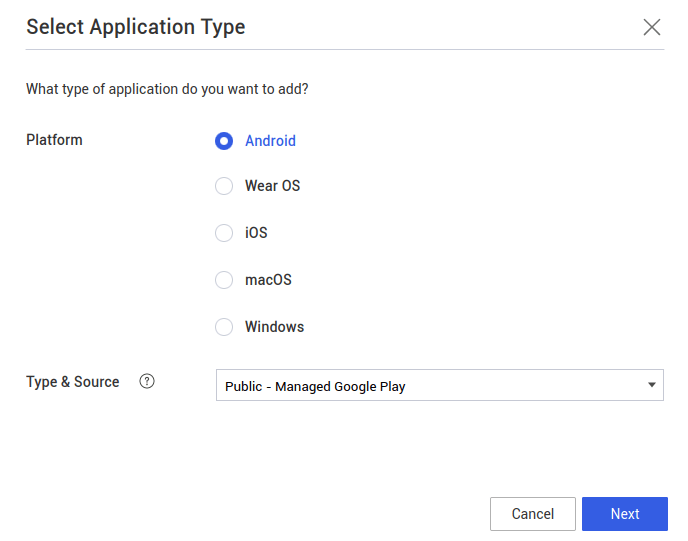
1. Still in Knox Manage, go to Application → Add.
2. Ensure Platform: Android and Type & Source: Public – Managed Google Play are selected (they are by default) and click Next.
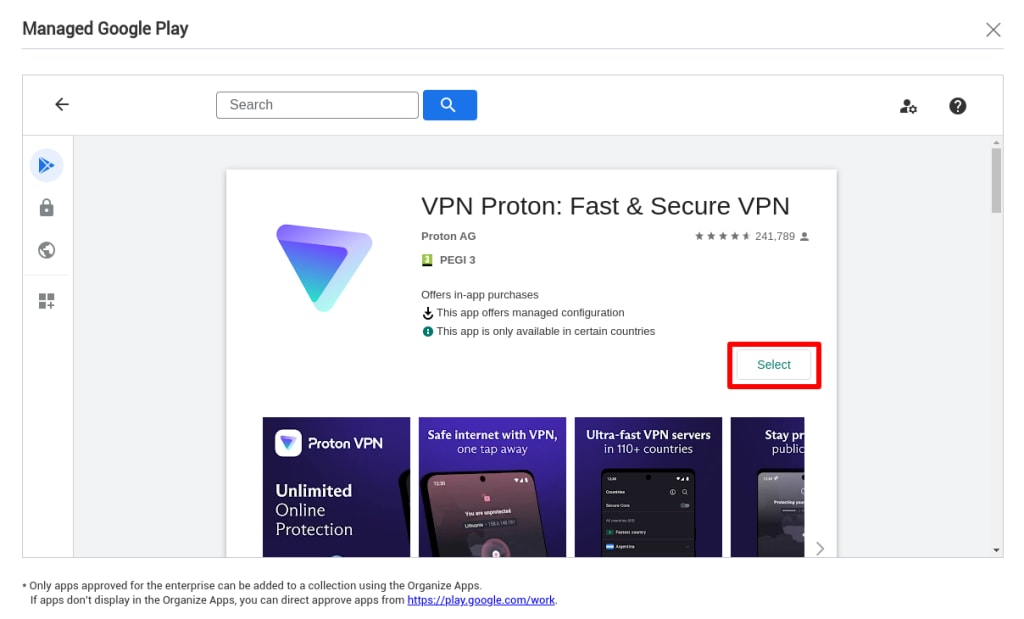
3. Search for Proton VPN and select it from the search results. Note: We encountered issues here using the Firefox browser, but were able to complete the task in Chrome.

4. Click Select.
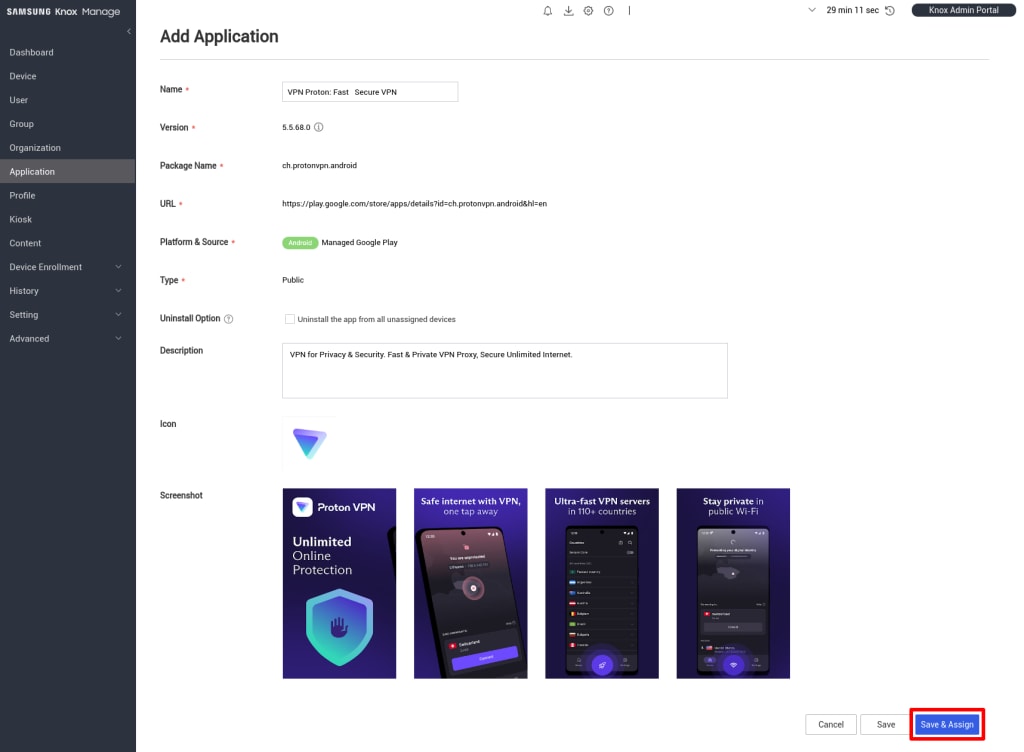
5. Click Save & Assign.
6. Select Installation type: Automatic (either removable or non-removable, per your organization’s preferences) and Target Type: all items (or your own preference). Click Assign (at the bottom of the page) when you’re done.
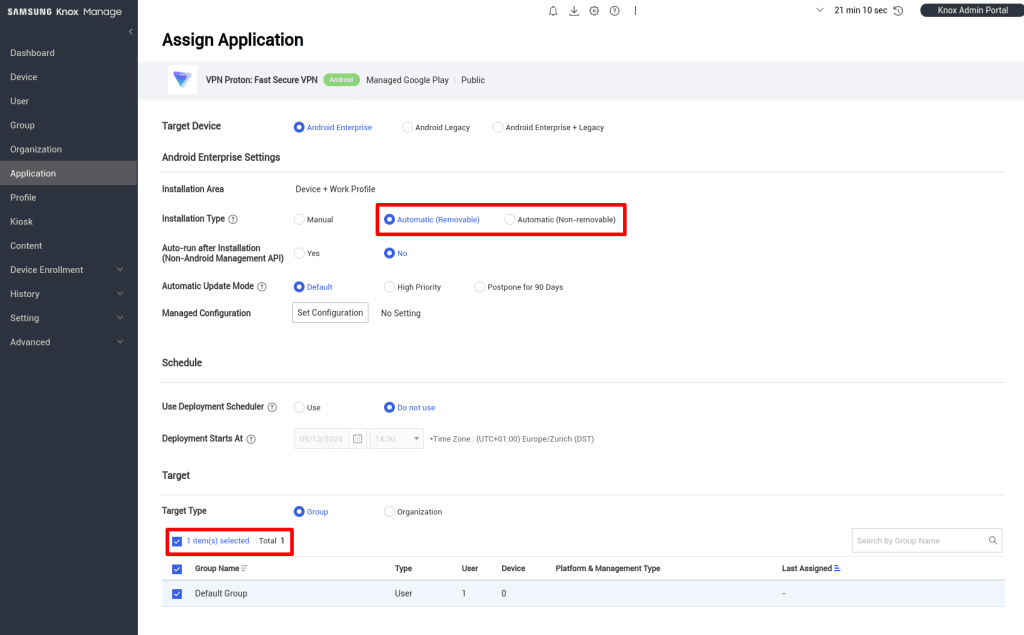
7. Review your choices and click OK.
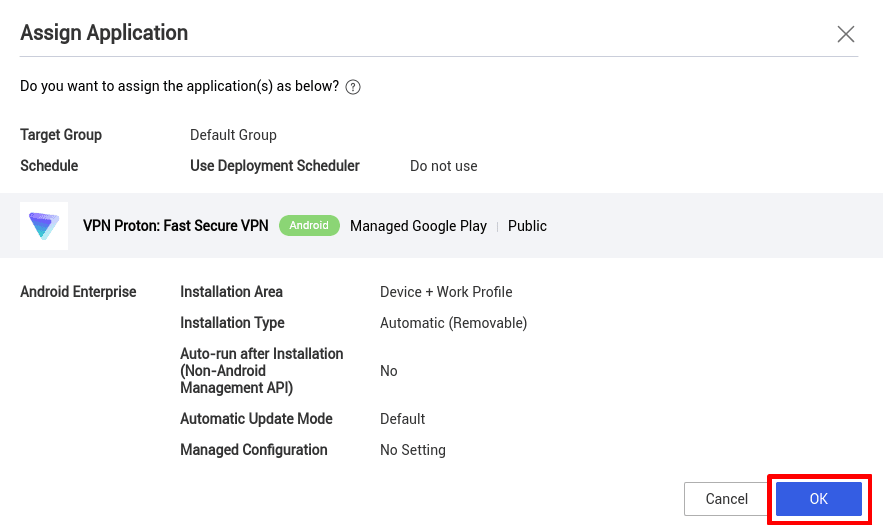
The Proton VPN app will now be automatically installed on your organization members’ managed devices.
Step three: Set up a work profile on a user’s Android device
This step can be performed by your organization’s administrator on company devices or by your team members on their own devices. Android’s profile feature ensures that users can separate their work and personal lives. Please note that this guide was created using a Samsung OneUI phone, and some details may differ on other devices.
1. On the Android device, install the Samsung Knox Manage(new window) app from the Play Store.
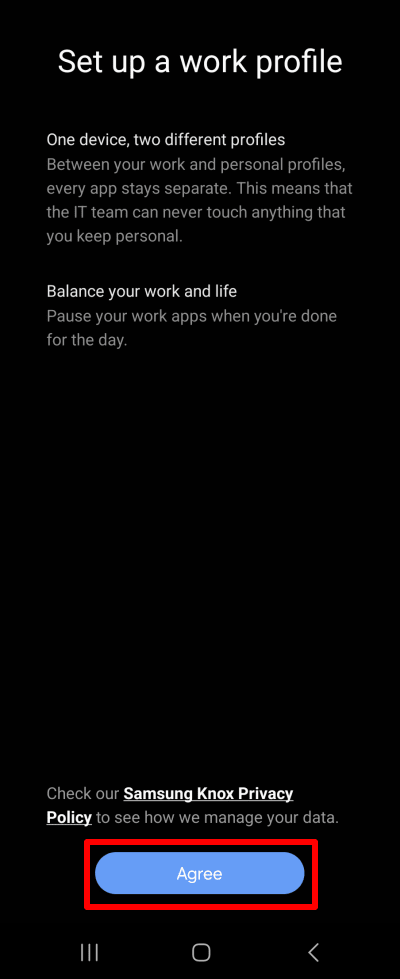
2. Open the app and provide the username created in step one. A work profile will now be set up on the device. This allows you (or the user the device is issued to) to keep your personal and work lives separate. Note that data in your work profile will be viable to your IP administrator. Tap Agree to proceed and tap Next once the new work profile has been created.
3. Sign in using the username and password created in step one. Assuming Proton VPN has already been configured for your organization (see step two above), you can see the Proton VPN app by going to ☰ → Application Store.
You can now open the Proton VPN app from your work profile. To do this, swipe up from your home screen or tap on the circle-shaped dotted icon at the bottom of your home screen to open your app drawer → Work.
Additional configuration options
MDM for Proton VPN on Android is now set up. Below, we look at a couple of more advanced options.
How to configure automatic sign-in to Proton VPN
Using MDM, you can automatically sign your team members into Proton VPN.
1. Sign in to your Samsung Knox admin account(new window), go to Knox Manage → Application, and select Proton VPN using the check mark box. Click Assign.

2. Give your new configuration a name and enter the Proton account username and password for your organization. Click Save when you’re done (at the bottom of the page).

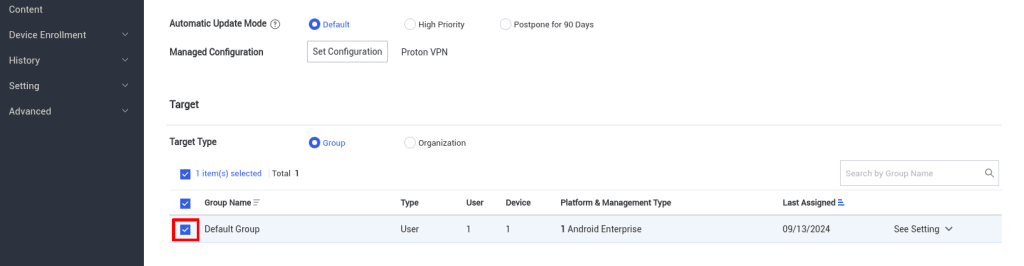
3. Go to Target and select all items (or your own preference). Click Assign when you’re done (at the bottom of the page).
How to configure device restrictions
Samsung Knox allows you to configure a wide range of restrictions on how devices are used.
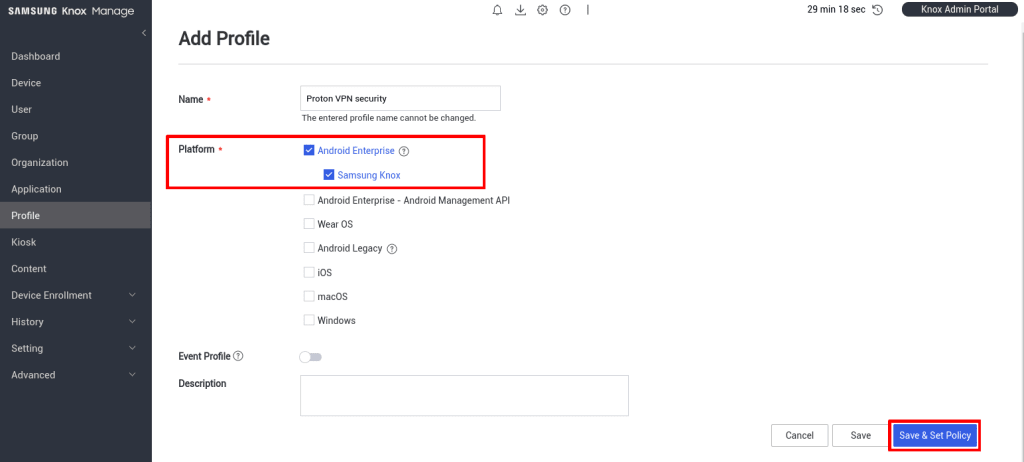
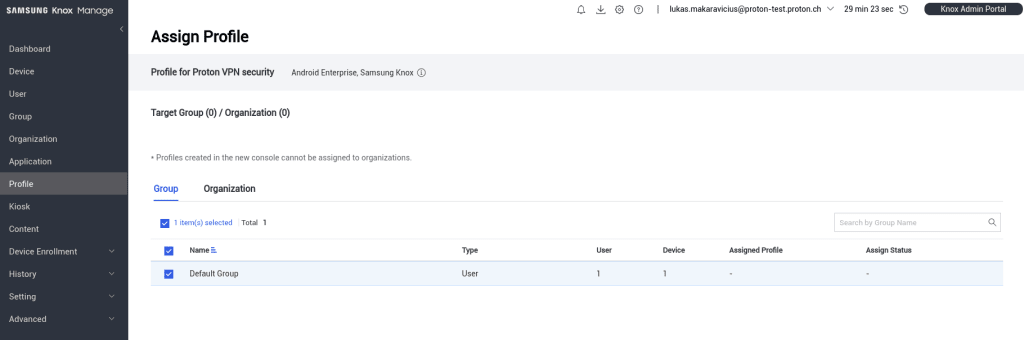
1. Sign in to your Samsung Knox admin account(new window) and go to Knox Manage → Profile → Add. Give your profile a name, select Platform: Android Enterprise, and click Save & Set Policy.
2. Select the policies you’d like to enforce. With policies, you can specify whether users can cut and paste content to Android’s clipboard, install and uninstall apps, connect to other devices over WiFi, Bluetooth, or USB transfer, and more. Click Save & Assign when you’re done.

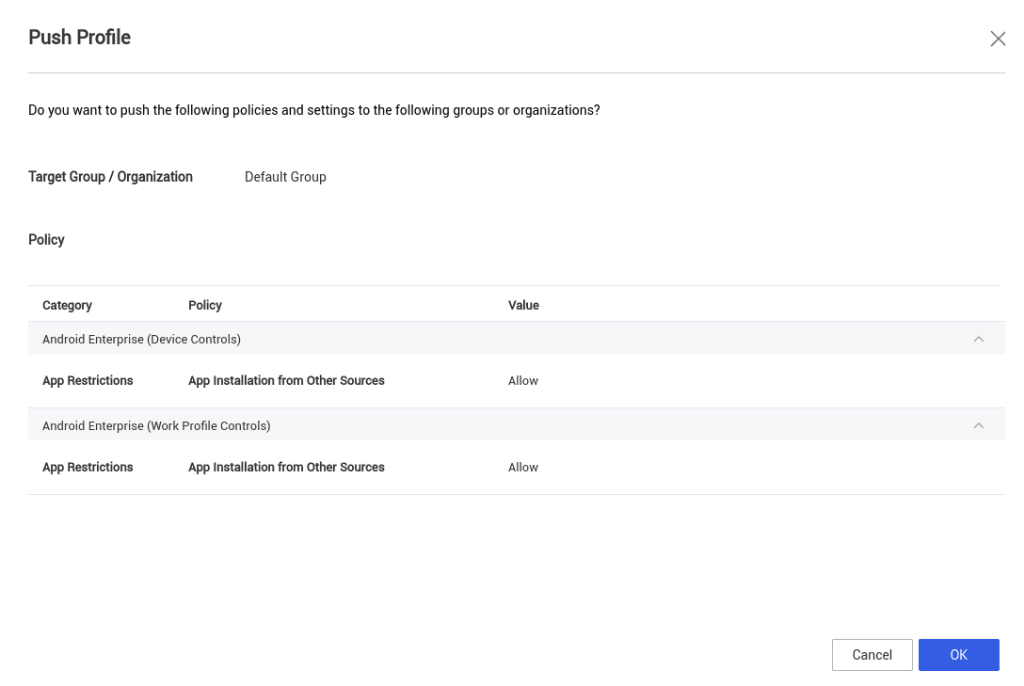
3. Select your targets and click Assign & Push.
Review your choices and click OK if you’re happy with them. Your enforcement policies will now be pushed to all targeted devices.