How to use the Proton VPN macOS app
Our Mac app runs on macOS 10.12 and higher and is the recommended way to use Proton VPN on your MacBook, Mac mini, iMac, or Mac Pro. It provides the easiest way to connect to our servers and allows you to benefit from many of Proton VPN’s advanced features. For example:
- Kill switch
- WireGuard®, WireGuard TCP, and Stealth VPN protocols
- Smart protocol
- VPN connection profiles
- DNS leak protection
- Custom DNS
- Moderate (type 2) NAT
If you have an older Mac, you can use Proton VPN by manually configuring OpenVPN on it. If your device runs macOS 10.11 or higher, you can also manually configure it using WireGuard.
- Learn how to manually configure OpenVPN on macOS using Tunnelblick
- Learn how to manually configure WireGuard on macOS
- Learn more about VPN protocols
How to install the Proton VPN app
By default, macOS only allows apps to be installed from the macOS App Store. To install the Proton VPN app, you’ll need to adjust your Mac’s settings to allow apps to be installed from other sources. To do this (if you haven’t done so already), open Settings → Privacy & Security → Security → Download applications from and select App Store and identified developers.

1. Download the Proton macOS VPN app, go to your Downloads folder in Finder, and double-click the Proton VPN DMG file to mount it.
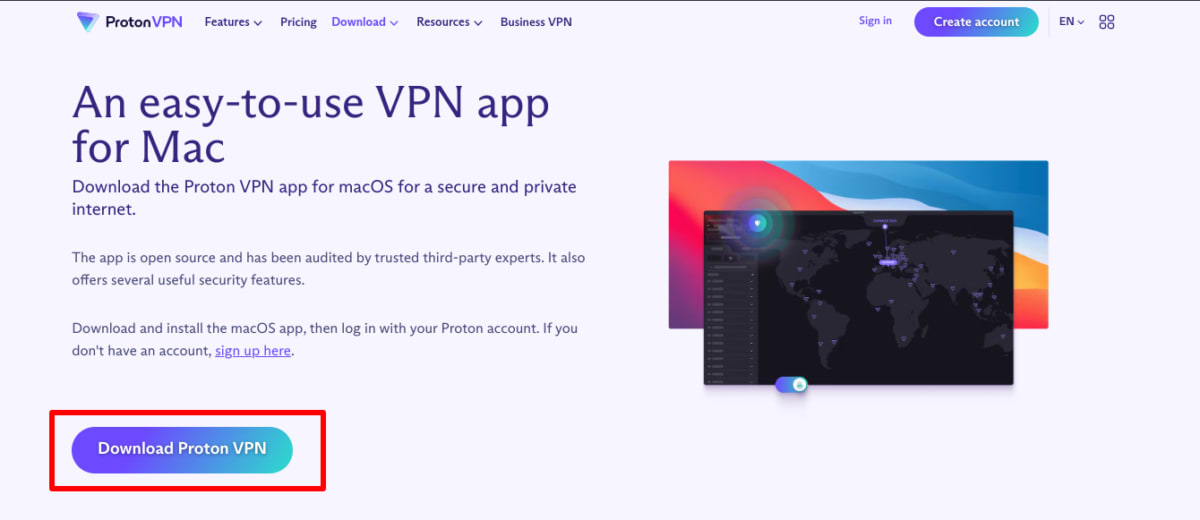
2. Drag the Proton VPN app to your Applications folder.
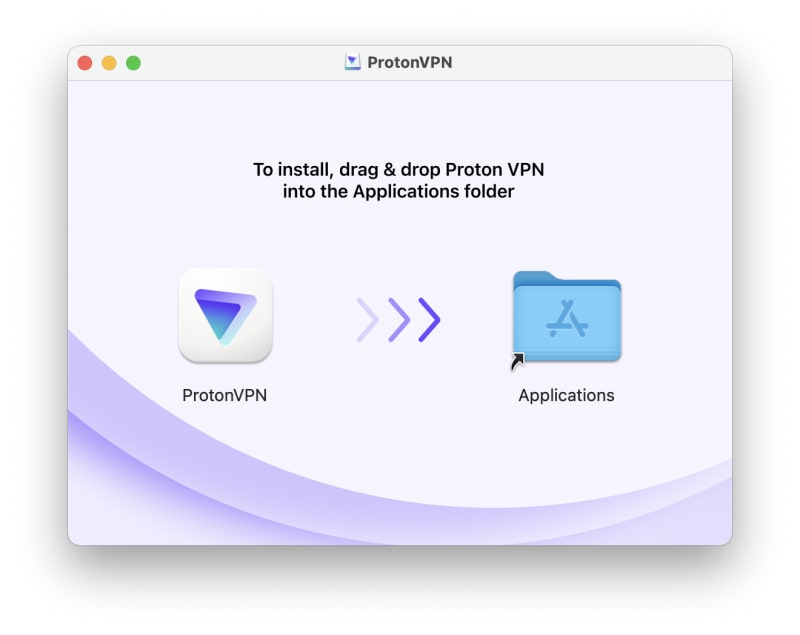
3. Double-click ProtonVPN app in your Applications folder or open it using Launchpad.
4. You may see the following confirmation request when first opening the app. Click Open.
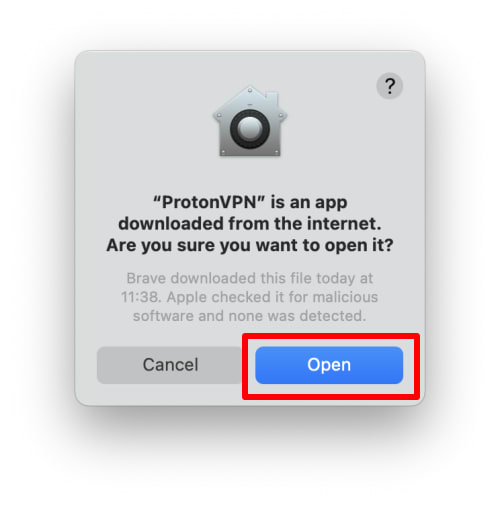
5. Sign in using your Proton Account username and password. You can also enable Start on Boot to automatically open the Proton VPN app after starting your computer. If you don’t have an account, you can sign up for one.
6. The first time you run the Proton VPN app, the System Extension Blocked notification will appear. Click Open System Settings.
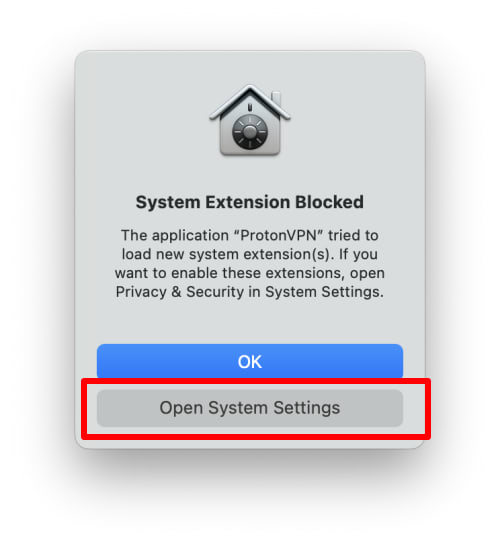
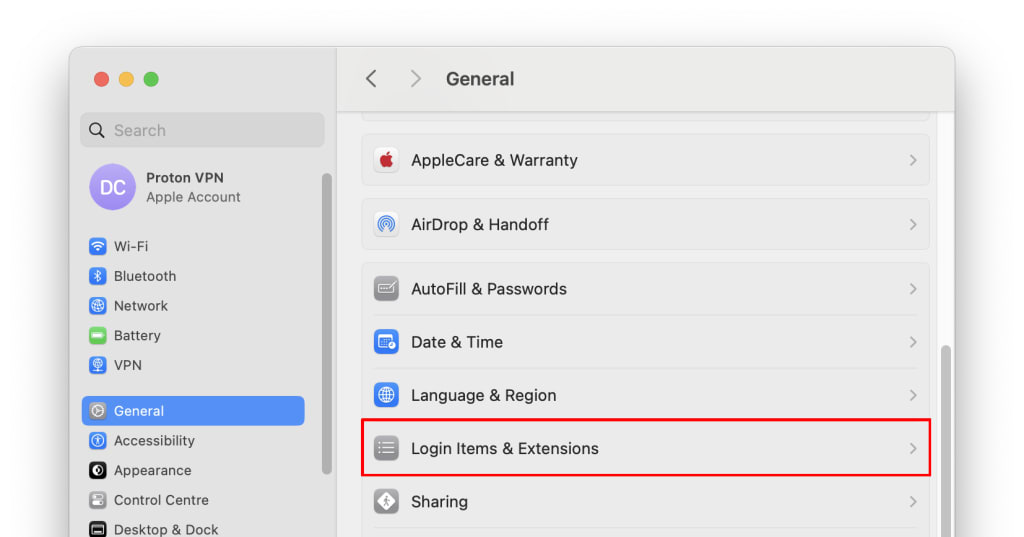
7. Go to General → Login Items & Extensions.
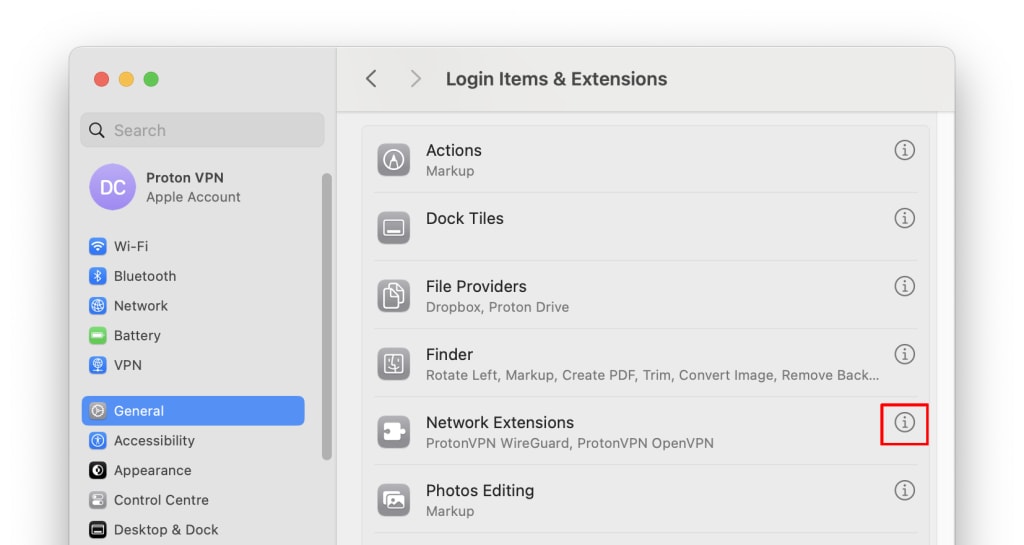
8. Go to Extensions → Network Extensions → 🛈.
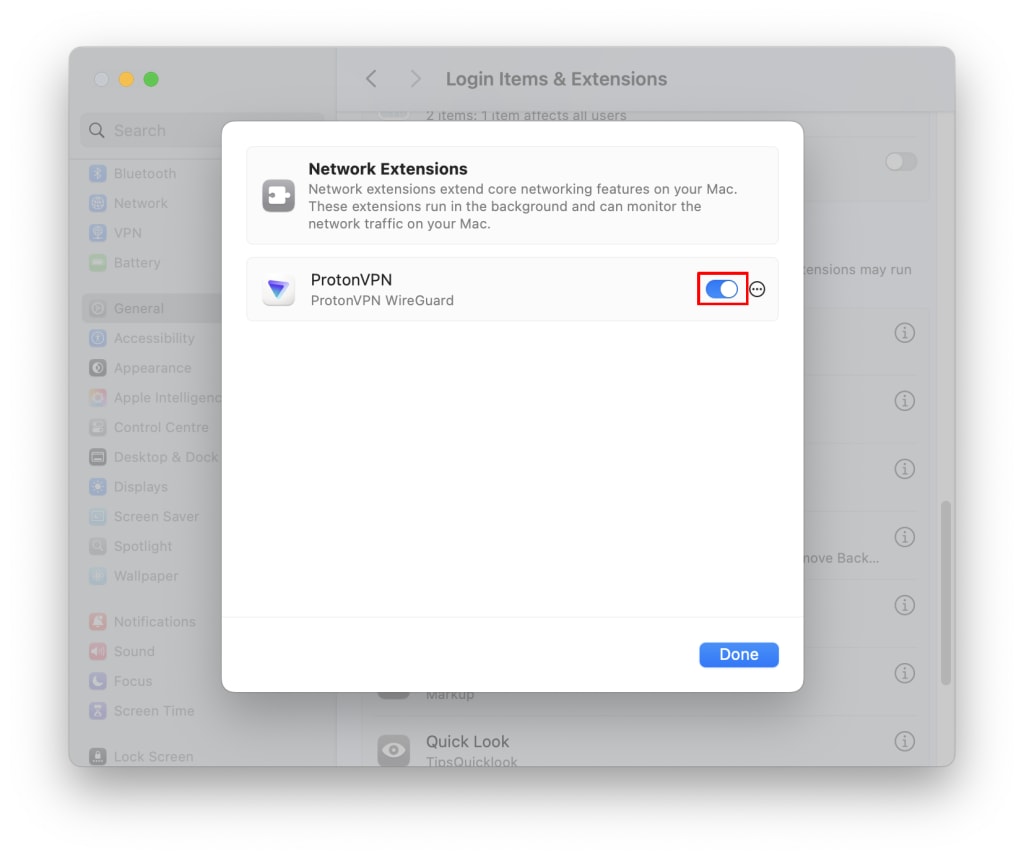
9. Toggle the ProtonVPN WireGuard switch on and click Done.
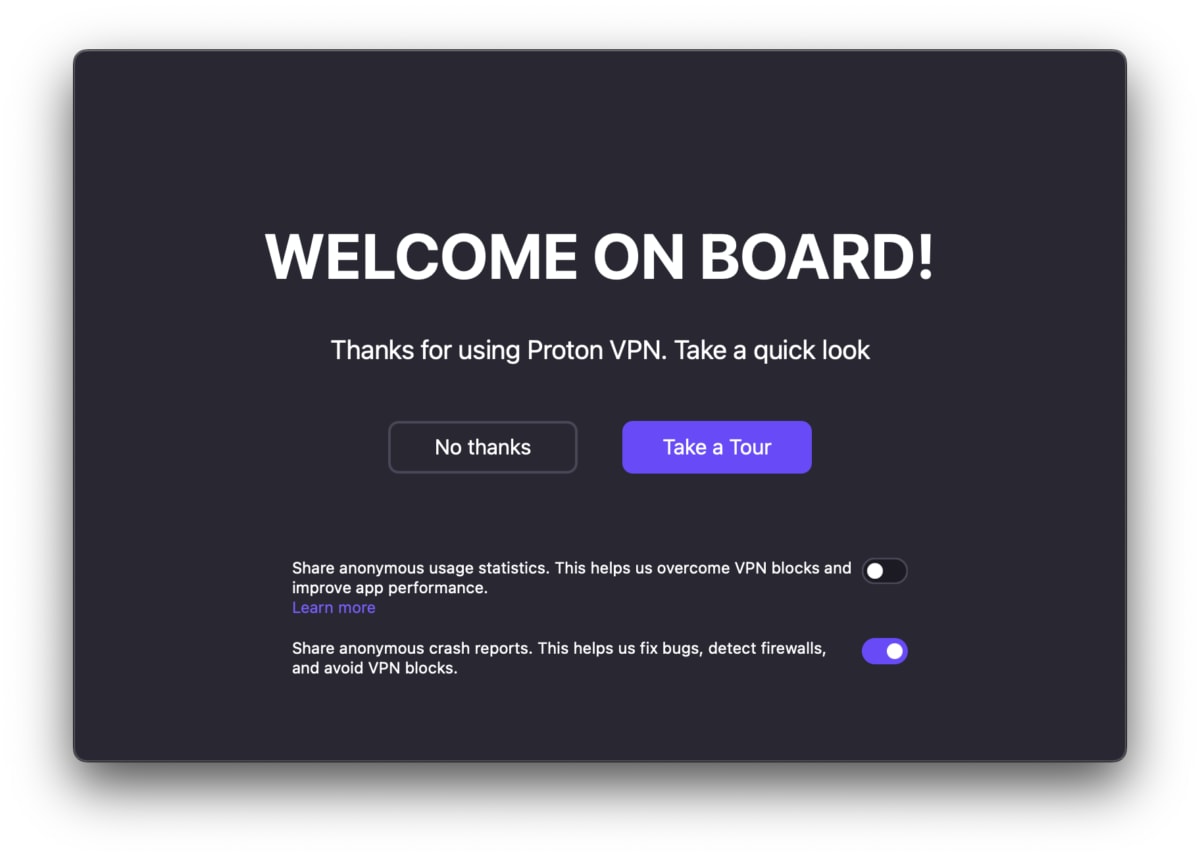
10. Return to the Proton VPN app, where you’ll be given the option to tour our features.
Note: These instructions are for macOS 15 (Sequoia). If you’re running and earlier version of macOS, the instructions for enabling new connections are different. Please see our support article on how to change VPN protocols for full details.
How to use Proton VPN on macOS
Quick connect
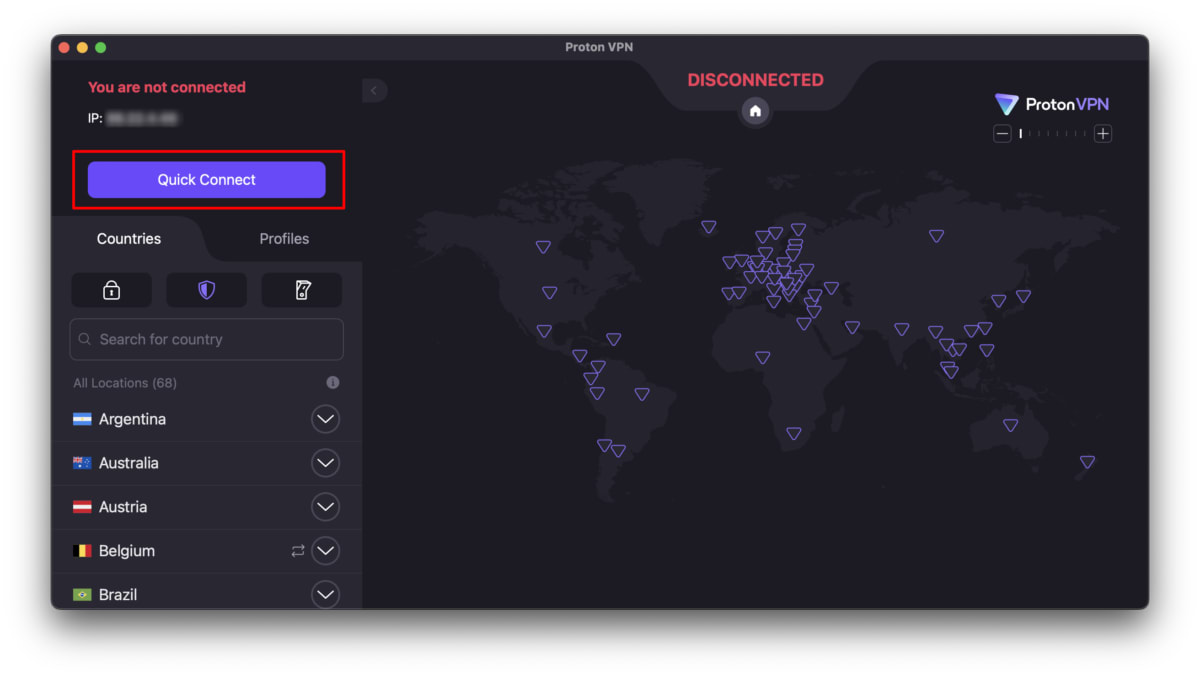
To immediately connect to a VPN server, click the Quick Connect button. This connects you to the fastest VPN server for your location (if you’re on our Free plan, we’ll automatically connect you to a server in the Netherlands, Japan, Romania, Poland, Norway, Switzerland, Singapore, Mexico, Canada, and the United States).
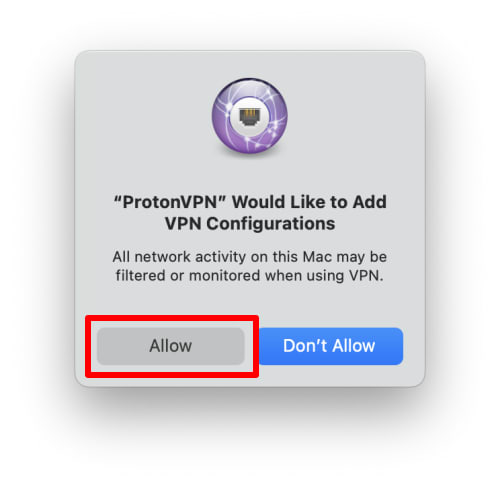
The first time (only) that you connect using Proton VPN, you’ll be asked if you wish to add VPN configurations to macOS. Click Allow.
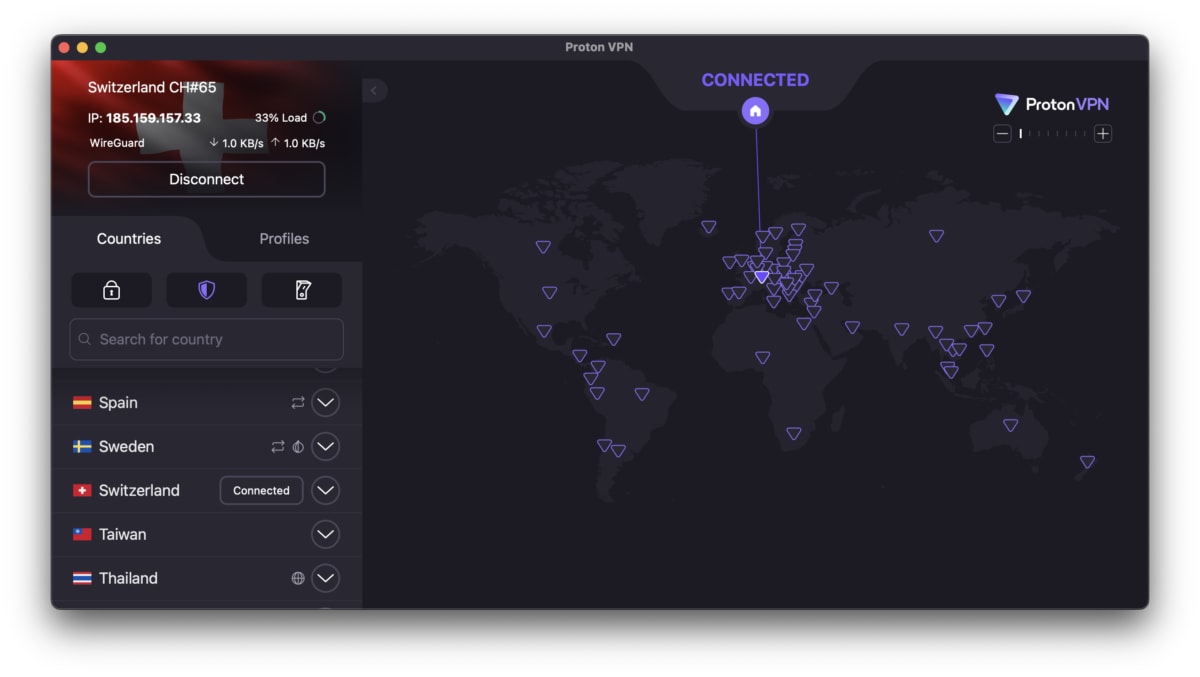
You are now connected to Proton VPN.
Connect to a specific country
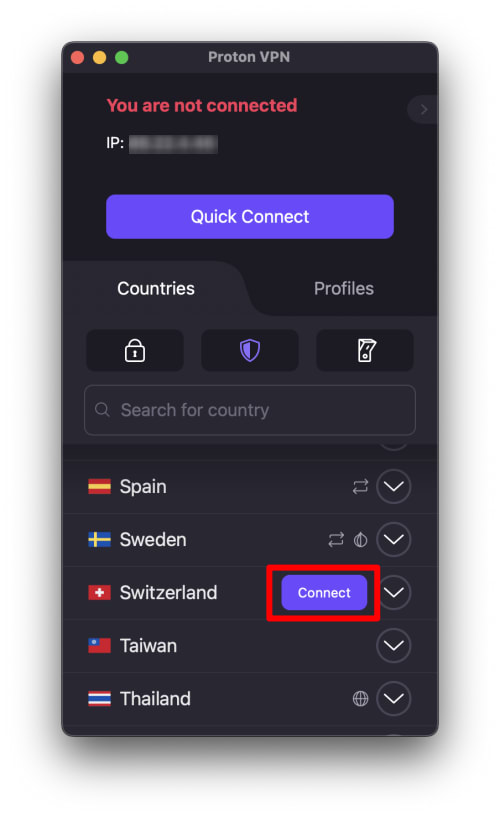
If you are on any paid Proton VPN plan, you can connect to any of our high-speed servers in 110+ countries. To connect to the fastest server in the country of your choice, hover your mouse pointer over the country → Connect.
To connect to a specific server in a country, click V next to the country of your choice to see a list of servers in that country. Hover your mouse over your server of choice → Connect.
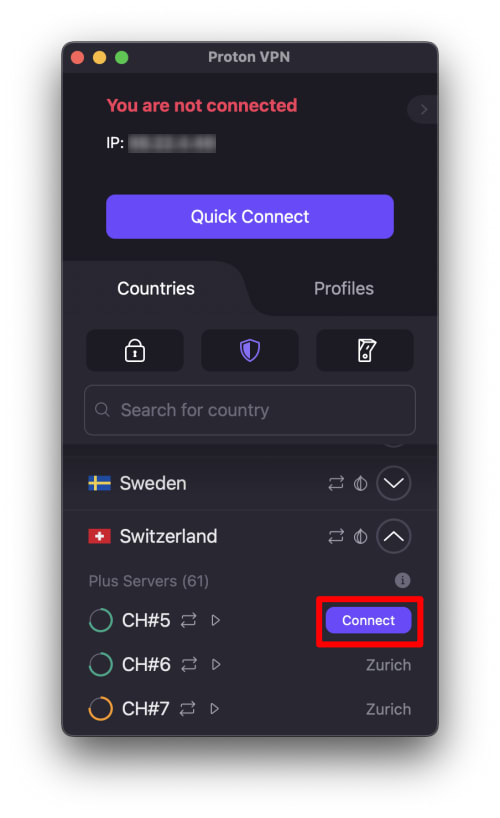
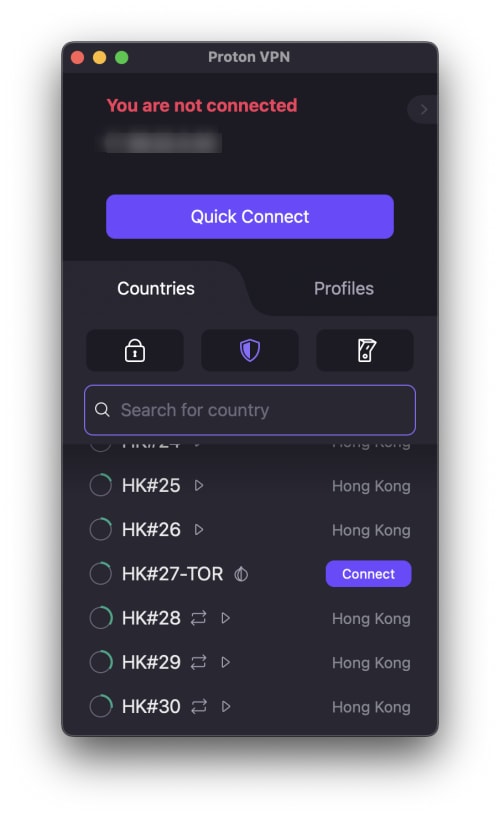
Some servers have special uses. These are clearly labeled:
- Tor servers: Onion icon
- Streaming servers: Play button icon
- P2P servers: Double-arrow icon
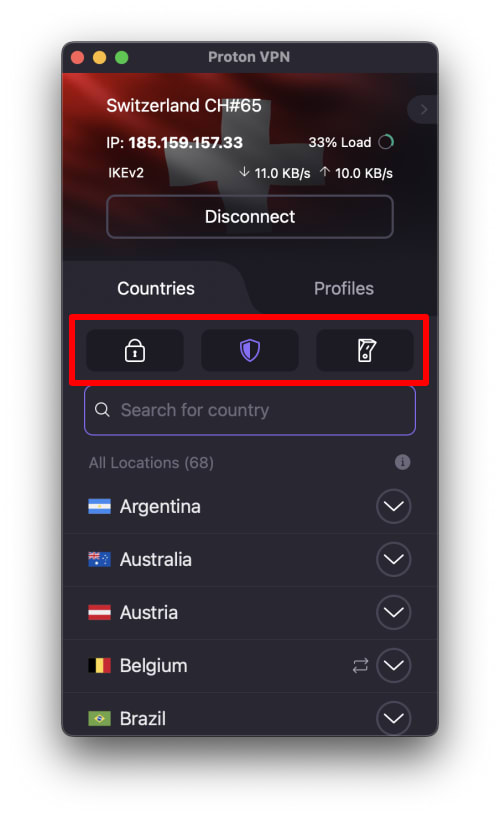
Advanced connection options
From the Countries tab, you can configure a number of advanced connection options:
Connection profiles
If you regularly use the same custom connection settings, you can save them as VPN connection profiles to make it easy to connect using those settings. To create and manage connection profiles, click the Profiles tab.
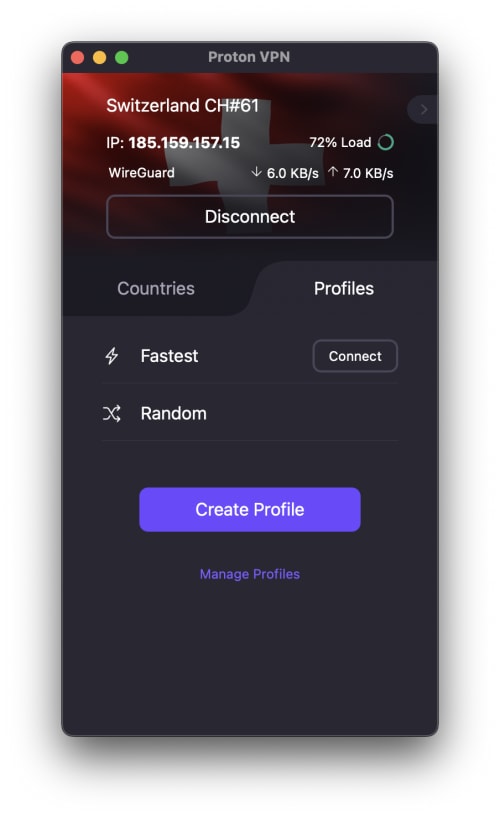
Learn how to create and manage VPN connection profiles
The Proton VPN macOS app menu
To access the Proton VPN app menu, click Proton VPN app, then click the macOS menu bar → Proton VPN.
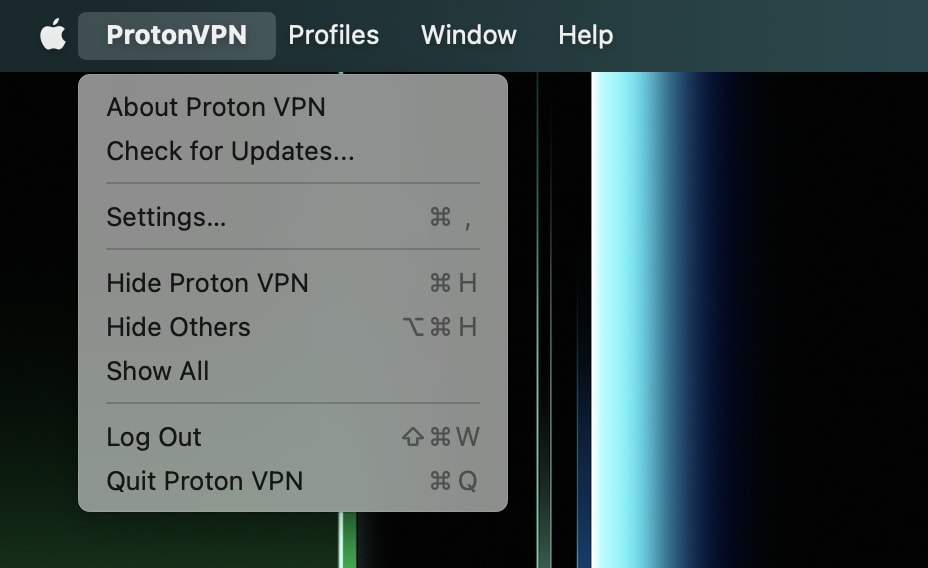
From here, you’ll be able to access the following functions:
- About Proton VPN — Information about the app, including version, the last time the app was updated, and the changelog
- Check for updates — You should be automatically alerted when new updates are available for the app, but you can use this function to check for updates manually, the Proton VPN plan you have, and manage your account
- Settings — Change general, connection, or advanced settings
- Profiles — View and edit connection profiles that you have created
- Help — Shows various help-related functions, including links to our Support section and for reporting issues
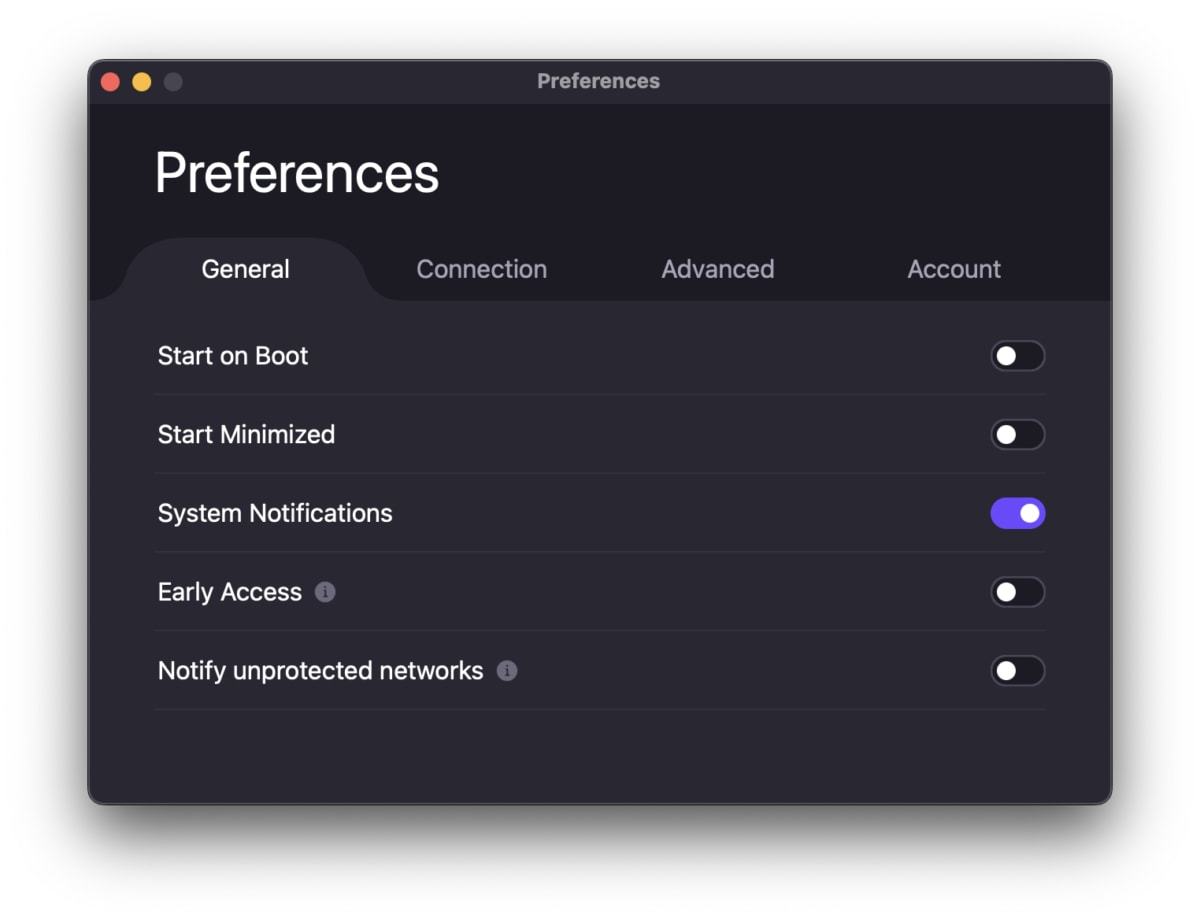
Proton VPN Settings
In the General tab, you can:
- Choose to start the app when your Mac first boots up
- Choose to start Proton VPN minimized to the macOS menu bar
- Turn Notifications on or off
- Enable early access to get the latest pre-release version of Proton VPN
- Enable alerts when you connect to unknown networks
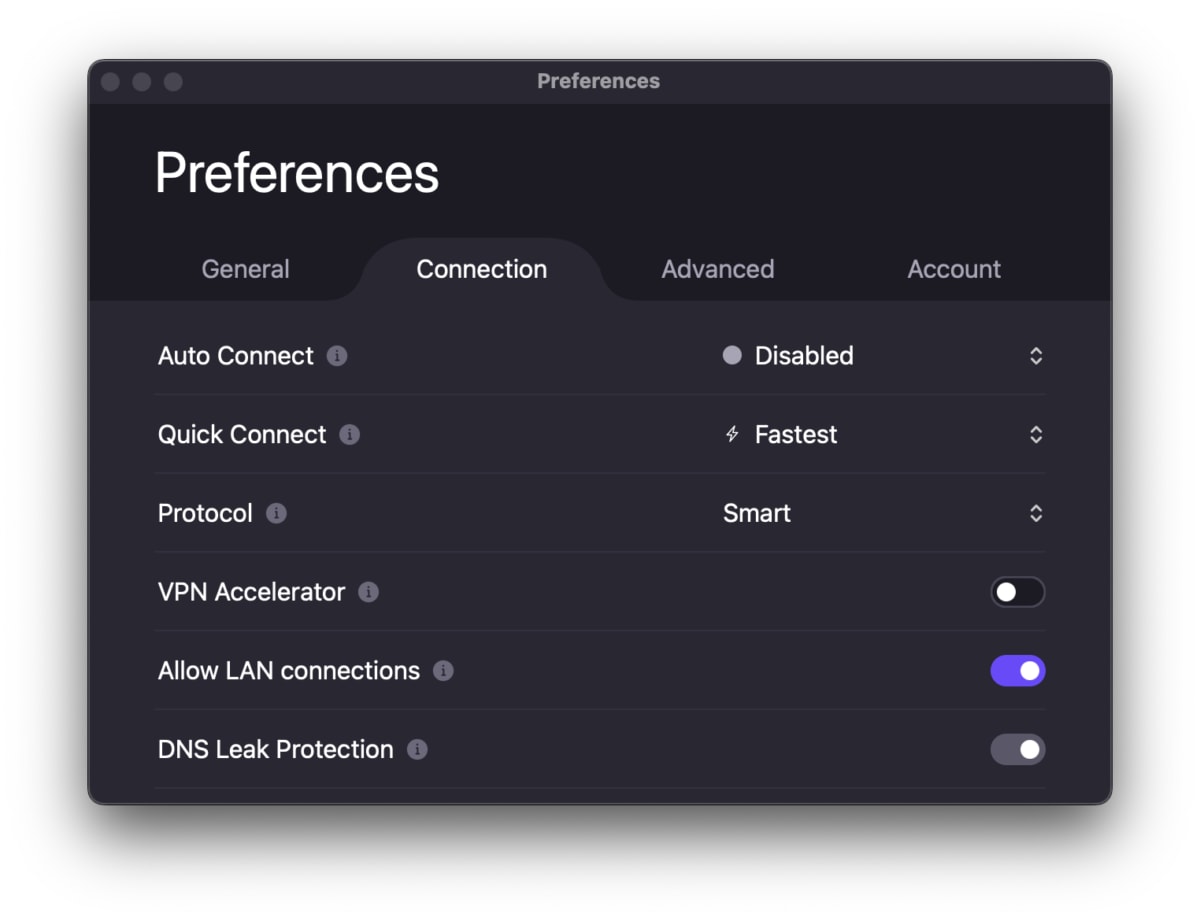
In the Connection tab, you can:
- Enable auto connect when the app starts and if the app disconnects unexpectedly.
- Decide the criteria our Quick Connect function uses to select a server (Fastest or Random)
- Change VPN protocols or use Smart Protocol.
- Disable VPN Accelerator (it’s enabled by default, as there is no real advantage to doing this)
- Allow LAN connections so you can access local resources, such as your printer, when the VPN is running
DNS leak protection is always enabled.
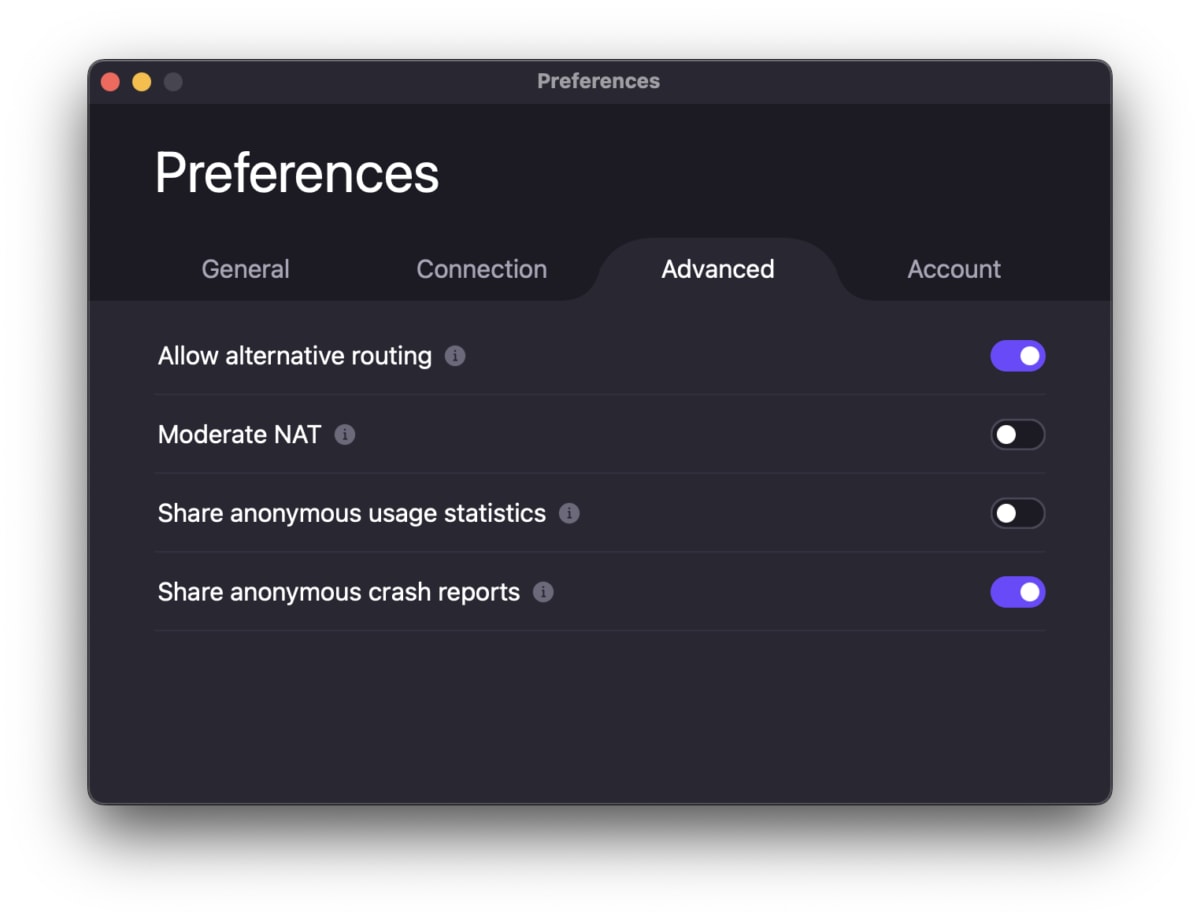
In the Advanced tab, you can:
- Disable or enable alternative routing(nouvelle fenêtre) to bypass firewalls or network issues
- Enable or disable moderate NAT
- Opt in to sharing anonymous usage statistics
- Opt out of sharing anonymous crash reports
In the Account tab, you can see your Proton Account details and access your dashboard to manage your subscription.