How to use Okta SCIM with Proton VPN for Business
SCIM (System for Cross-domain Identity Management) is a standard way to manage user identities across different computer systems. Imagine you work in a large company that uses many different applications, like email, chat, project management tools, and more. Each of these applications needs to know who you are and what you can do within that app. SCIM helps you manage this information so you don’t have to set up a user account for each application separately.
SCIM acts like a smart office manager for digital identities, ensuring everyone has the right access to the tools they need while keeping everything secure and up-to-date. It simplifies the process of managing user accounts and permissions across multiple systems, saving time, reducing errors, and enhancing security.
In this article, we explain how to use Okta SCIM with your Proton VPN for Business account. It assumes that you’ve already set up single sign-on (SSO) for Proton VPN using Okta.
Learn how to set up SSO for Proton VPN using Okta
How does SCIM work?
Think of SCIM as a central office manager who handles everyone’s access to various rooms in an office building. With SCIM, you can easily:
- Create and import new employees: When a new employee joins the company, the office manager (SCIM) gives them keys to all the rooms (applications) they need to access.
- Update information: If an employee gets promoted or changes departments, the office manager updates their keys and access rights accordingly.
- Remove access: When employees leave the company, the office manager takes back their keys so they can no longer access any rooms.
- Create groups: The administrator can create groups. This provides centralized management for group members, streamlining management of access and permissions for group members. Please note that we don’t support importing groups.
Why is SCIM useful?
SCIM saves you time. Instead of manually creating or updating user accounts in each application, SCIM does it automatically. It also reduces errors by automating the process to ensure all user information is consistent and up-to-date across all applications.
SCIM also improves your organization’s security, allowing you to immediately remove access to all applications when someone leaves the company, thus reducing the risk of unauthorized access.
How to use Okta SCIM with Proton VPN
One: Enable SCIM for your Proton VPN account
Before setting up SCIM, you must first set up SSO.
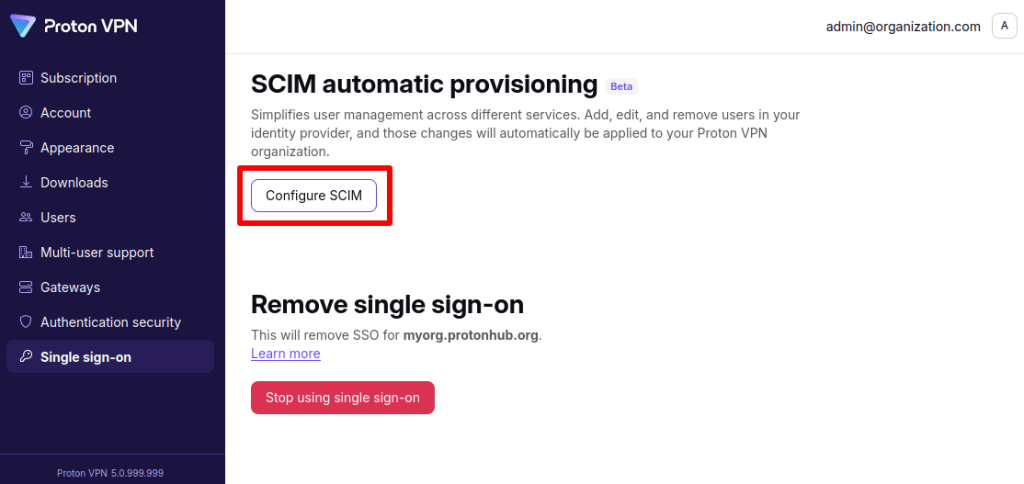
1. Log in to your Proton VPN for Business administrator account at account.protonvpn.com and go to ⚙ → Single sign-on →SCIM automatic provisioning → Configure SCIM.
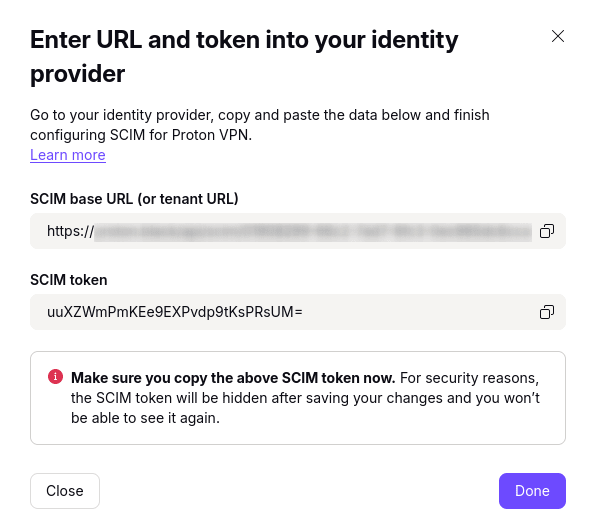
2. Make a note of the SCIM base URL and SCIM token. Click Done when you’re ready.
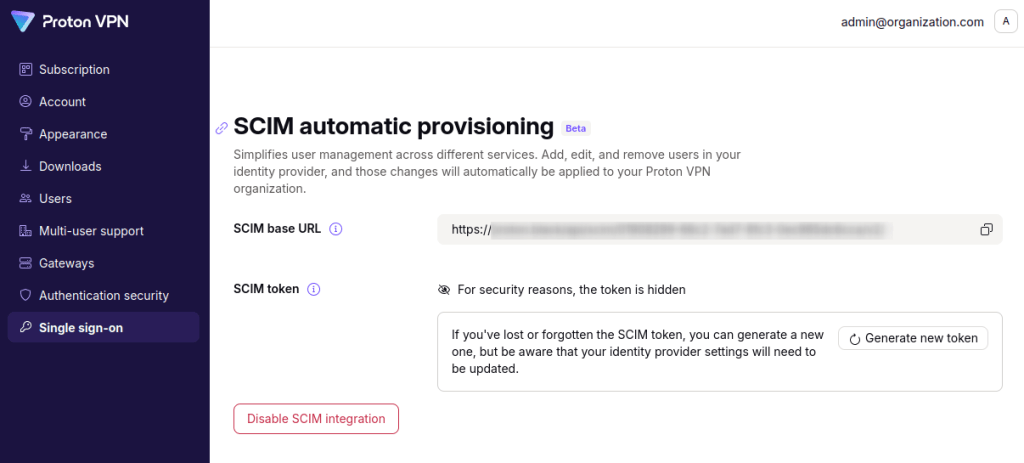
SCIM provisioning is now enabled on your Proton VPN for Business account.
You’re now ready to configure it on Okta.
Two: Set up SCIM on Okta with Proton VPN
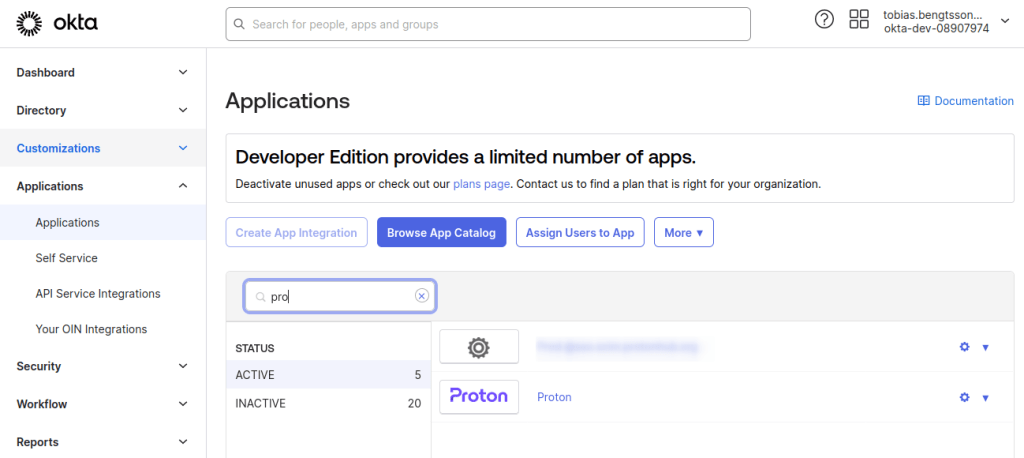
1. Sign in to your Okta account(nieuw venster), go to Applications, and select your application.
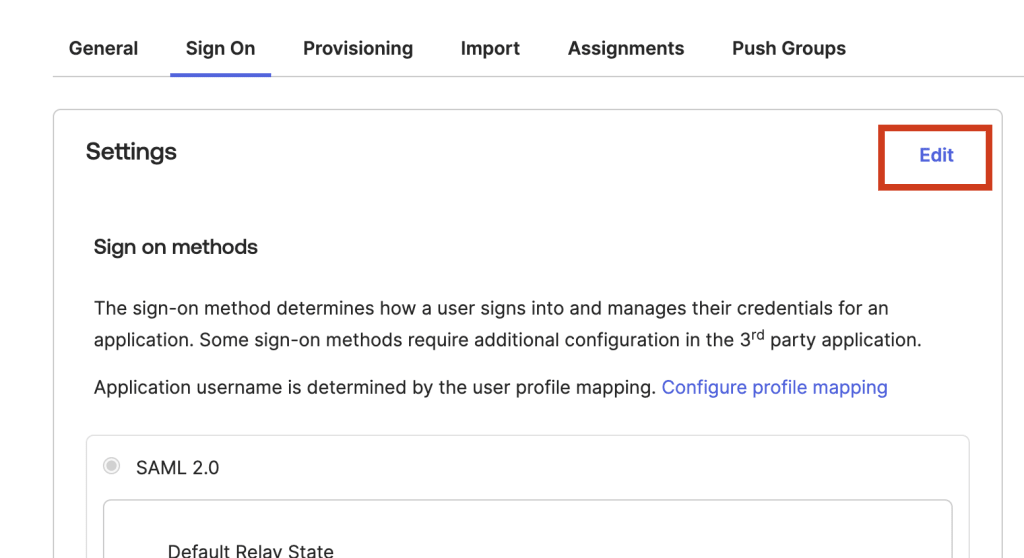
2. Go to the Sign On tab → Settings → Edit.
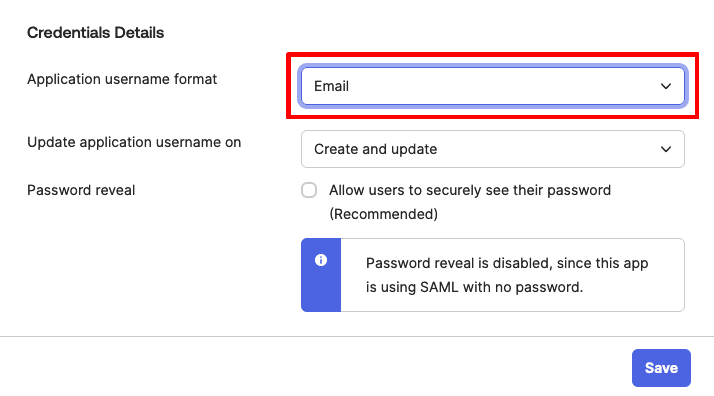
3. Go to Credential Details → Application username format and select Email from the dropdown menu. Click Save.
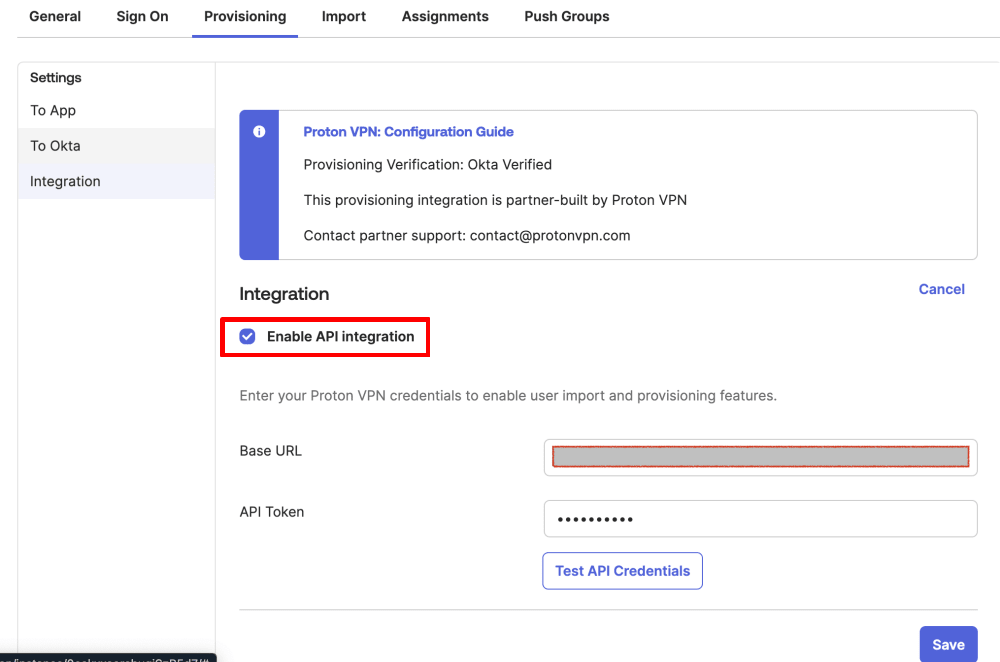
4. Go to the Provisioning tab → Integration and toggle the Enable API integration switch on.
5. You can now enter the settings you made a note of in step one.
- Base URL: Paste in the SCIM base URL from Proton VPN
- API Token: Paste in the SCIM token from Proton VPN
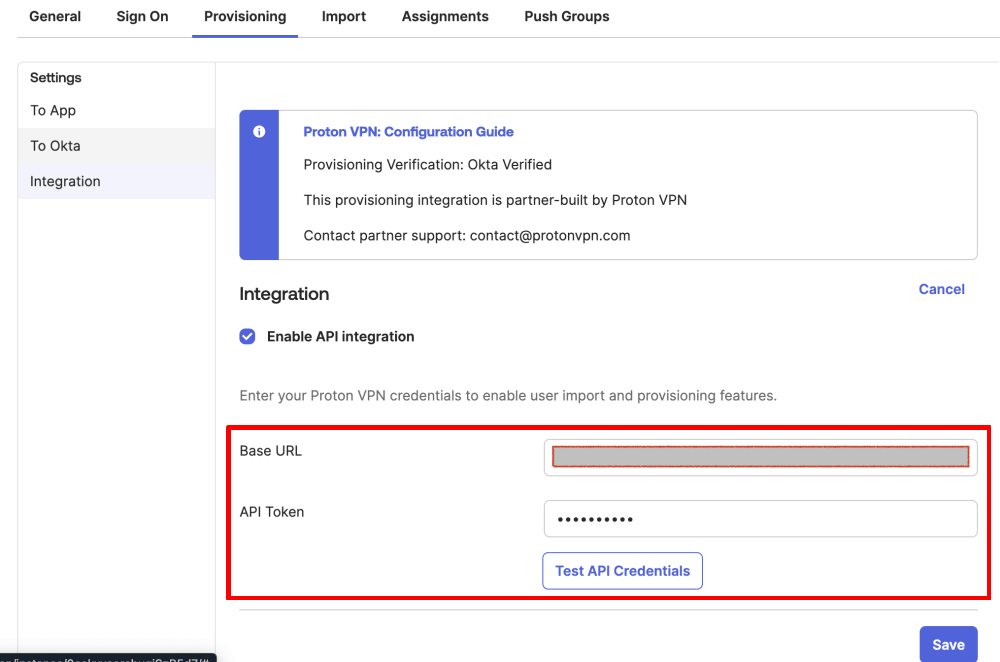
To test your new configuration, click the Test API Credentials button.
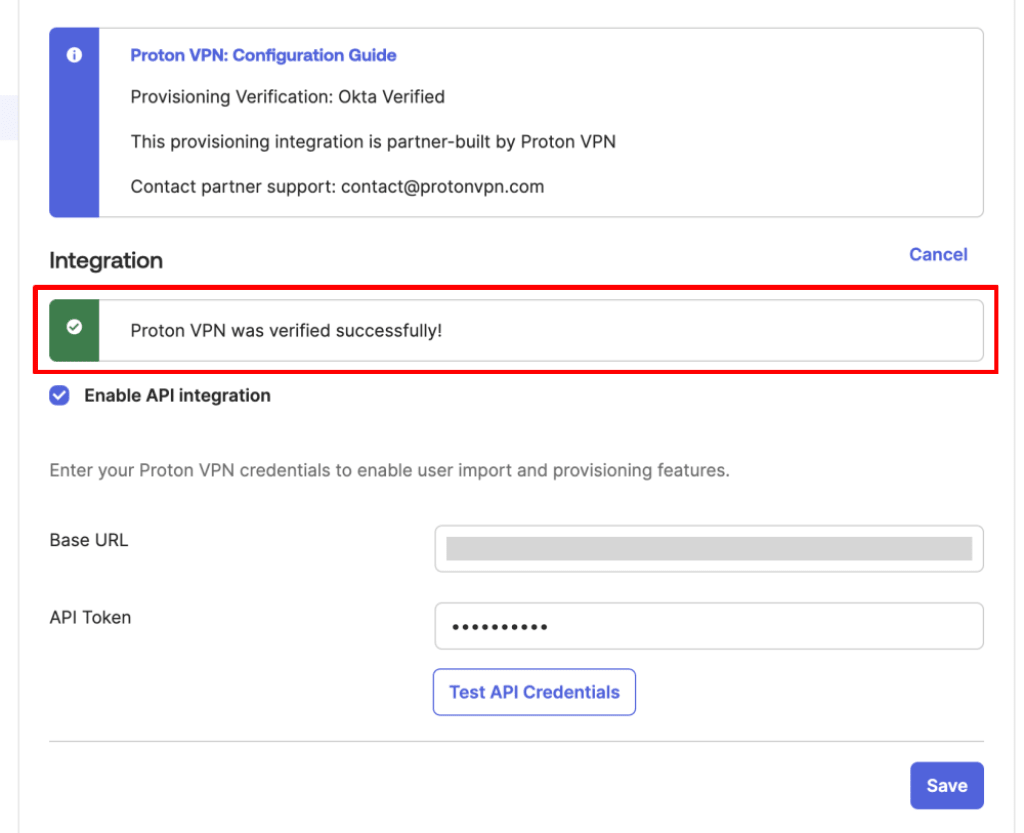
Click Save when you’re done.
Users you’ve added to your Okta application can now use SCIM and sign in using SSO.