Pi-hole é um bloqueador de anúncios gratuito e de código aberto projetado para redes domésticas. Originalmente projetado para Raspberry Pi, agora roda na maioria dos sistemas Linux baseados em Debian. Como o recurso NetShield Ad-blocker da Proton VPN, o Pi-hole bloqueia anúncios impedindo solicitações de DNS para domínios conhecidos por exibir anúncios.
Quando as pessoas falam sobre um “Pi-hole”, geralmente se referem a um dispositivo dedicado a executar o software Pi-hole(nova janela) e filtrar o tráfego DNS para os outros dispositivos em sua rede. Os Raspberry Pis são ideais para este trabalho, graças ao seu baixo preço e baixo consumo de energia, tornando-os econômicos para deixar funcionando o tempo todo.
Observe que o uso de um Pi-hole não é compatível com o Proton VPN. No entanto, você pode instalar o Proton VPN em seu roteador e bloquear anúncios, rastreadores e malware ativando o NetShield Ad-blocker.
Como criar seu próprio Pi-hole
Este guia pressupõe que você esteja executando um sistema baseado em Debian em um dispositivo adequado (como o Raspberry Pi OS(nova janela) em um Raspberry Pi). O software Pi-hole é muito leve e rodará sem problemas em hardware de baixo desempenho (incluindo Raspberry Pi Zero).
Existem duas maneiras de configurar um Pi-hole:
- Instalar o software Pi-hole diretamente no seu dispositivo
- Executar o Pi-hole dentro de um contêiner Docker(nova janela)
Para este guia simples, mostraremos como instalar o Pi-hole diretamente no seu dispositivo. Isso é fácil, graças a um script simples.
Antes de começar, é uma boa ideia garantir que seu sistema e pacotes estejam atualizados com o seguinte comando:
sudo apt-get update && sudo apt-get upgrade -y
Você também precisará do curl(nova janela) instalado em seu sistema (ele vem pré-instalado em muitas distros Linux, incluindo o Raspberry OS). Se você não o tiver em seu sistema, pode instalá-lo com o seguinte comando:
sudo apt install curl -y
Agora:
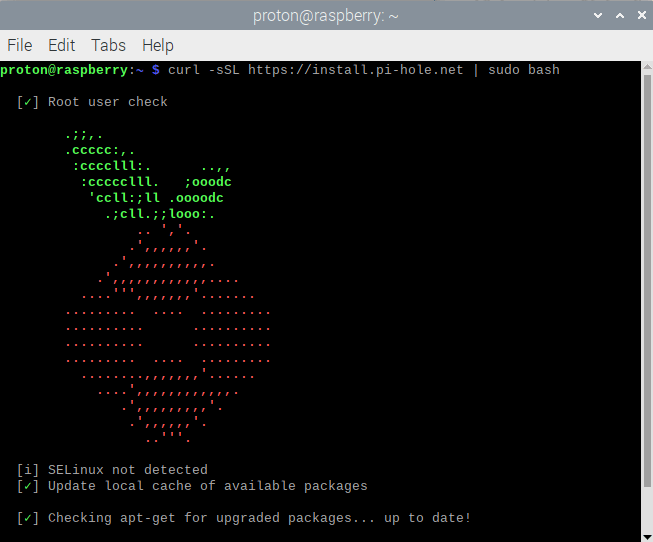
1. No seu terminal (no exemplo abaixo, o aplicativo Terminal no Raspberry OS), execute:
curl -sSL https://install.pi-hole.net | sudo bash
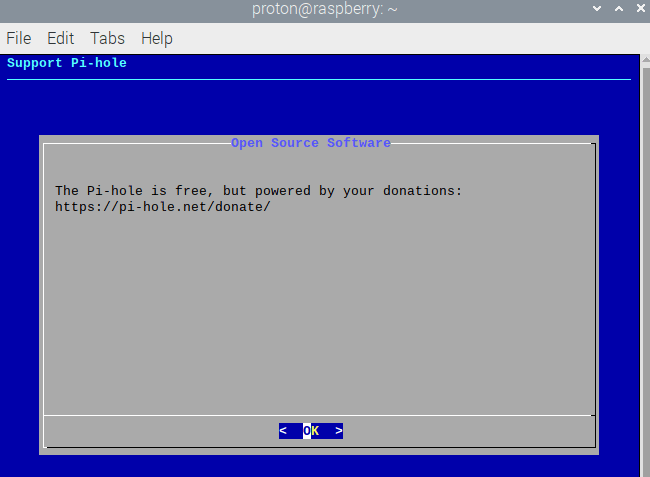
2. Clique em OK.
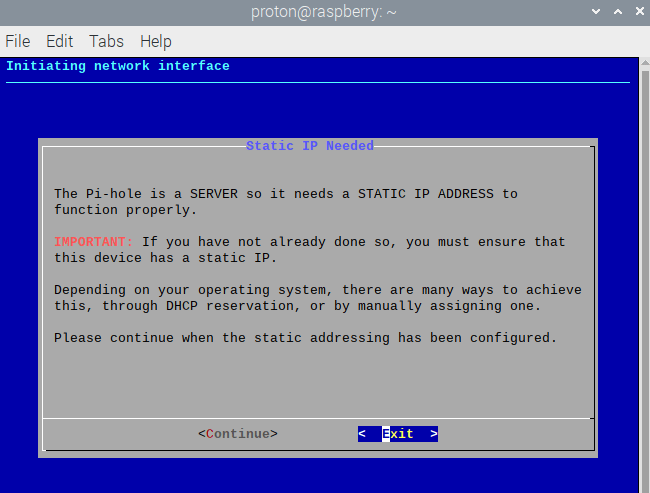
3. Seu dispositivo Pi-hole precisará de um endereço IP estático para funcionar corretamente. Aqui estão as instruções para configurar um IP estático no Raspberry OS(nova janela). Clique em Continue.
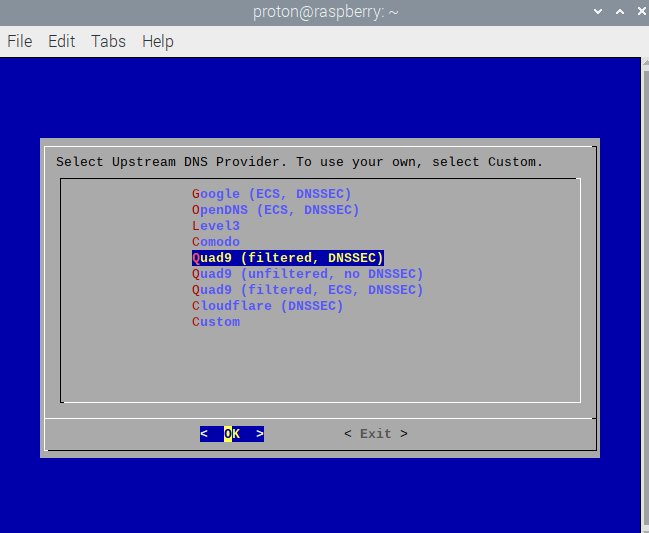
4. Selecione um provedor de DNS para resolver suas consultas DNS depois que o Pi-hole tiver filtrado os domínios de anúncios. Clique em OK para continuar.
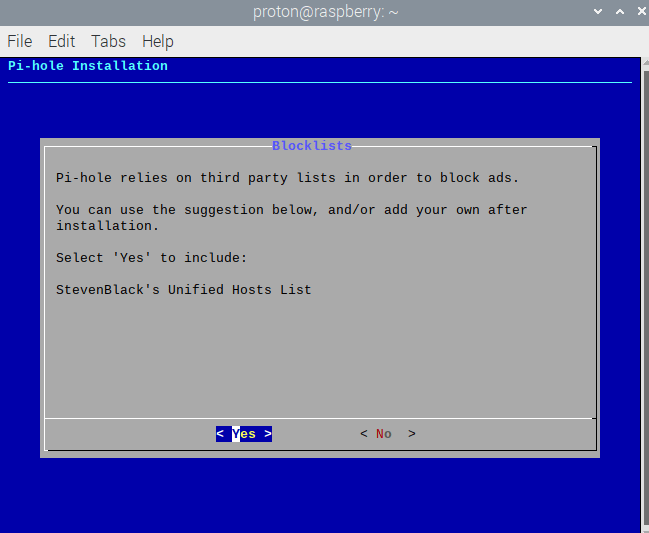
5. A menos que você prefira fortemente usar outra lista de bloqueio de terceiros, recomendamos usar a lista sugerida pelo Pi-hole. Clique em Yes para continuar. Você sempre pode editá-la ou adicionar mais listas de bloqueio mais tarde.
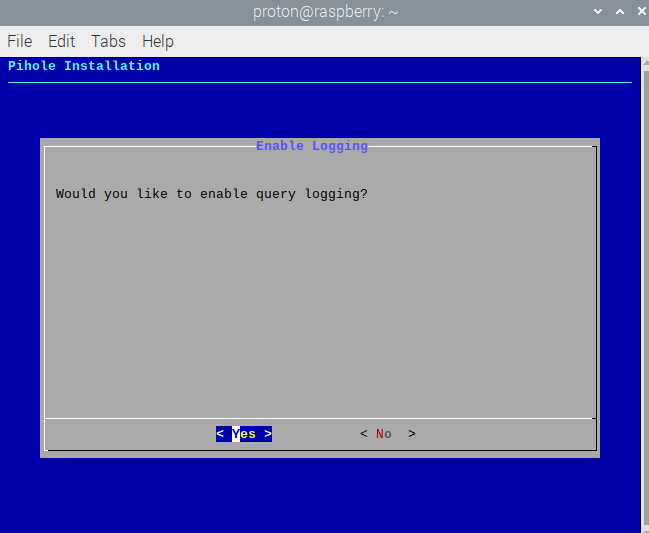
6. Decida se você gostaria de registrar as consultas DNS feitas através do seu Pi-hole.
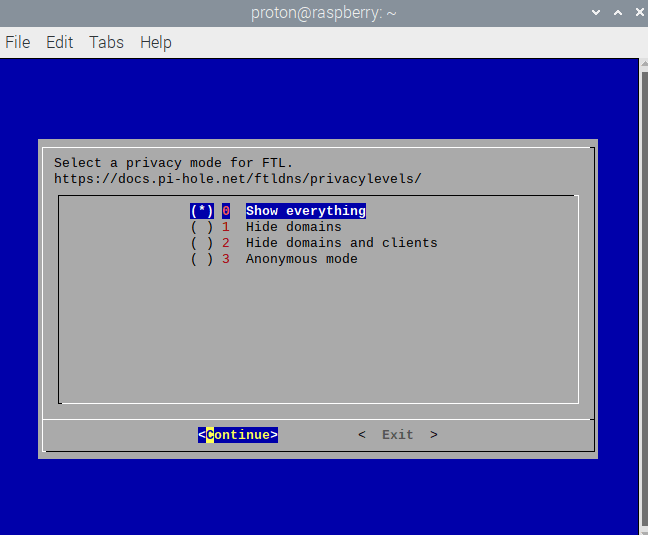
7. Se você clicou em Yes na etapa anterior, selecione um nível de privacidade(nova janela) para seus logs. Esses detalhes estarão disponíveis apenas para pessoas com acesso ao console de administração do seu Pi-hole. Clique em Continue quando estiver pronto.
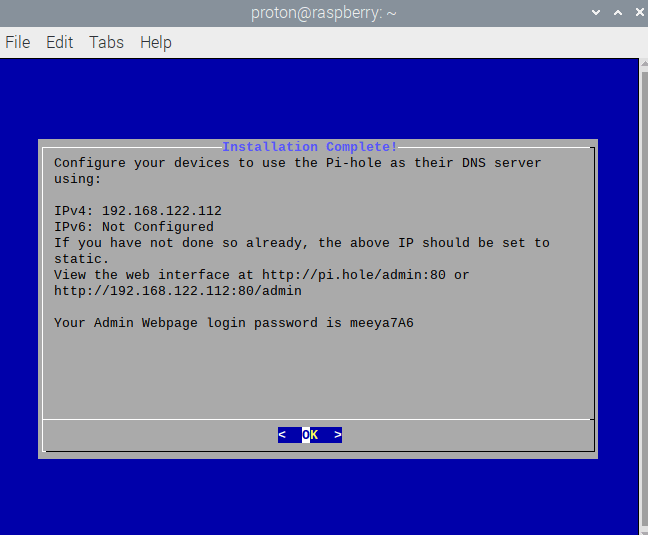
8. Seu Pi-hole agora está configurado e funcionando! Anote os endereços IP. Você precisará deles para definir as configurações de DNS de quaisquer dispositivos que deseja usar com o Pi-hole. Certifique-se também de salvar a URL e a senha necessárias para acessar a página da web de administração.
Como gerenciar seu Pi-hole
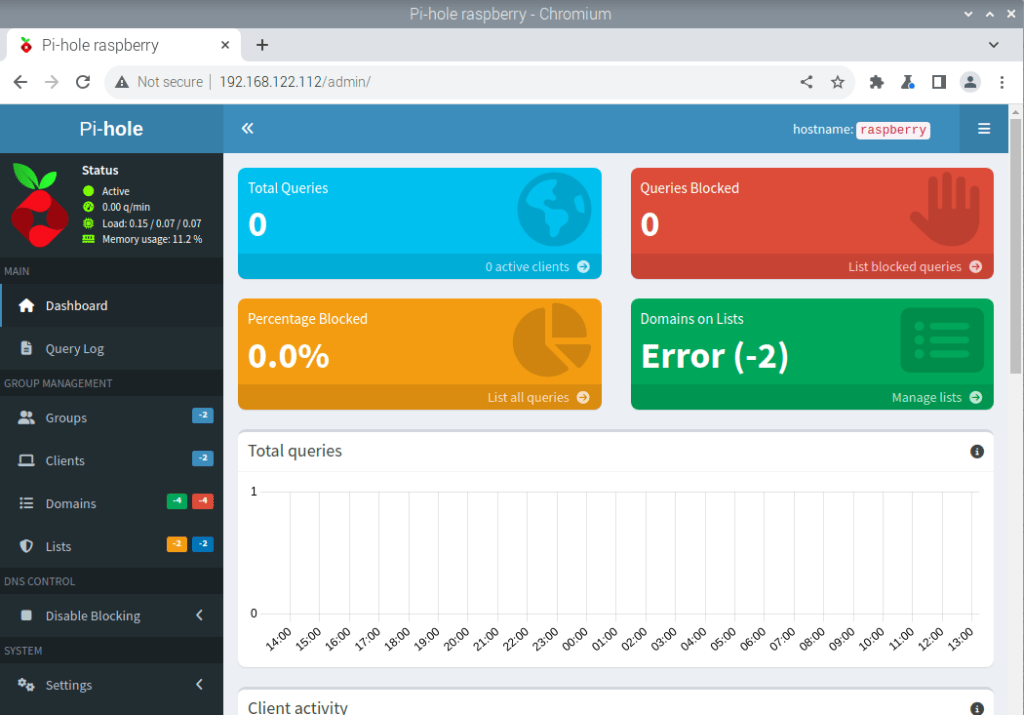
1. Em qualquer dispositivo conectado à mesma rede local que o Pi-hole, abra uma janela do navegador e digite pi.hole/admin:80(nova janela) ou o endereço IP listado acima na barra de URL. Digite sua senha do Pi-hole (veja também acima).
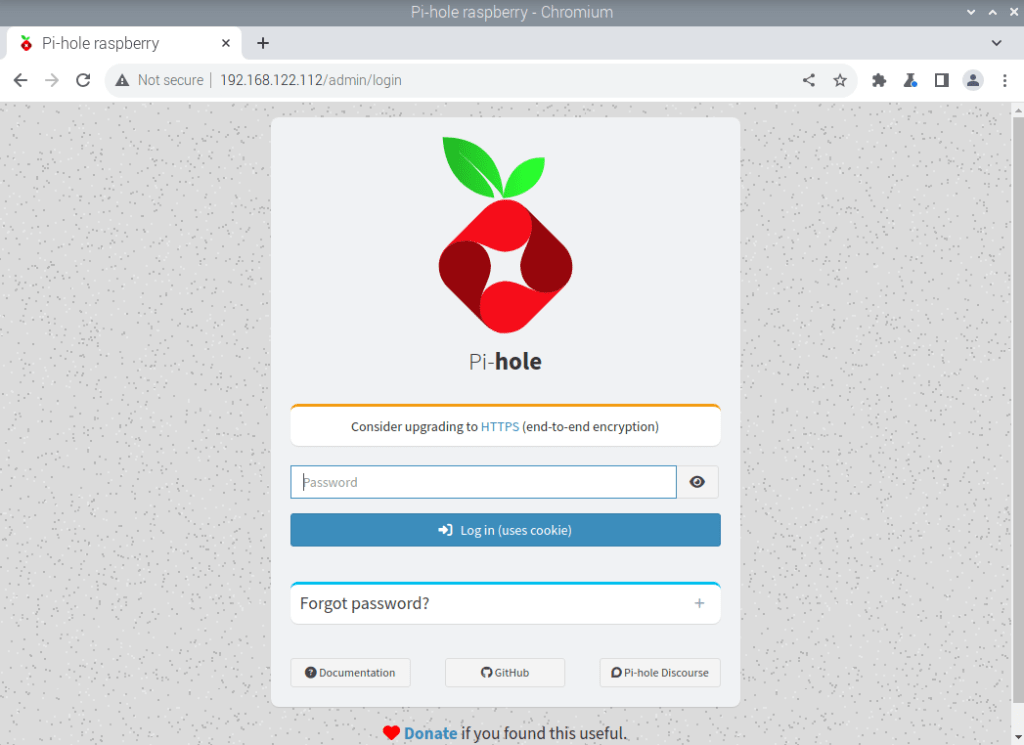
2. Agora você pode explorar os recursos do Pi-hole, monitorar quais consultas DNS ele bloqueia e definir configurações avançadas usando a interface da web.
Como usar seu Pi-hole
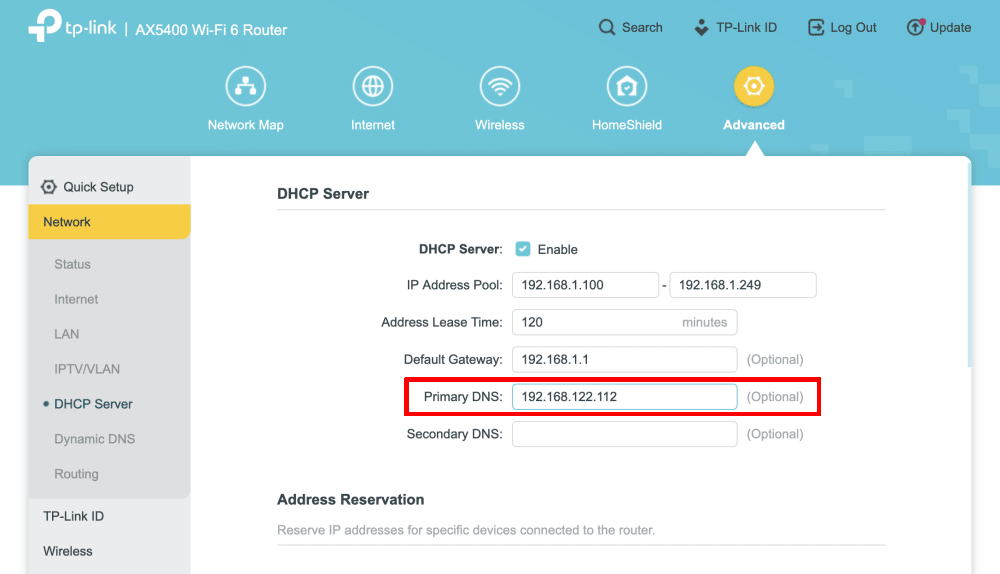
Você pode definir as configurações de DNS de cada dispositivo em sua rede local para filtrar suas consultas DNS através do seu Pi-hole. No entanto, uma solução mais simples é alterar as configurações de DNS do seu roteador para que todos os dispositivos que se conectam ao roteador usem o Pi-hole.
Considerações finais
Um Pi-hole é mais do que apenas um bloqueador de anúncios — é uma ferramenta poderosa para toda a rede que lhe dá maior controle sobre o que entra em seu espaço digital. Ele filtra o tráfego no nível do DNS, impedindo o conteúdo indesejado antes que ele chegue aos seus dispositivos.
No entanto, um Pi-hole não oferece privacidade. Ele não oculta seu endereço IP real dos sites que você visita, e provedores de DNS de terceiros podem rastrear seu histórico de navegação como seu ISP pode (é possível executar seu próprio servidor DNS, mas isso é levar as coisas para o próximo nível).
Se você deseja bloquear anúncios e proteger sua privacidade, um serviço de VPN confiável e sem registros como o Proton VPN é uma solução muito melhor. E, como observado anteriormente, nosso recurso NetShield (que também funciona em roteadores) oferece proteções semelhantes