WireGuard® is a fast, lightweight, and secure VPN protocol used by default in our official macOS app.
We strongly recommend using our official app on your Mac. It provides the easiest way to connect to our servers and allows you to benefit from many of Proton VPN’s advanced features. For example:
- Kill switch
- WireGuard, WireGuard TCP, IKEv2, and Stealth VPN protocols
- Smart protocol
- DNS leak protection
It is also possible to manually configure WireGuard on macOS using third-party clients. In this guide, we show you how to configure WireGuard on your Mac using the official WireGuard VPN client for macOS.
One advantage of manually configuring WireGuard on macOS is that our WireGuard config files support port forwarding.
How to manually configure WireGuard on macOS
1. Download and install the official WireGuard VPN client from the macOS app store.
2. Sign in to account.protonvpn.com, go to Downloads → WireGuard configuration, and download a WireGuard configuration file.
Learn how to download a WireGuard configuration file from Proton VPN
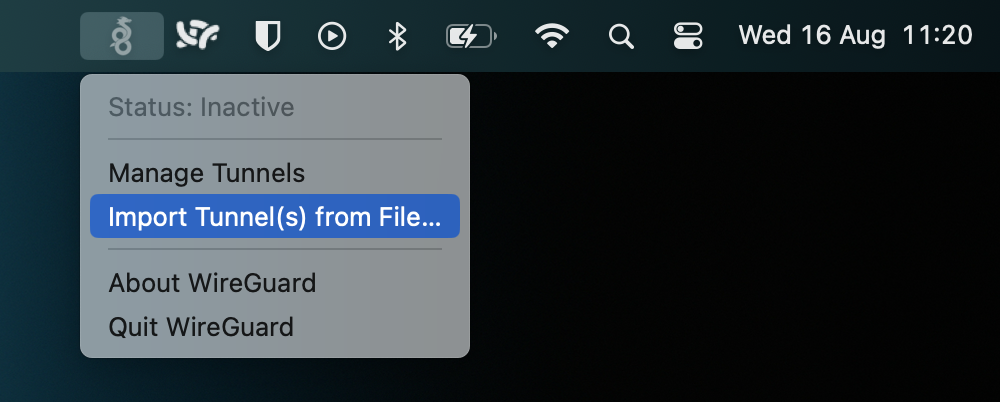
3. Run the official WireGuard VPN client and click on its icon in the macOS menu bar → Import Tunnel(s) from File…
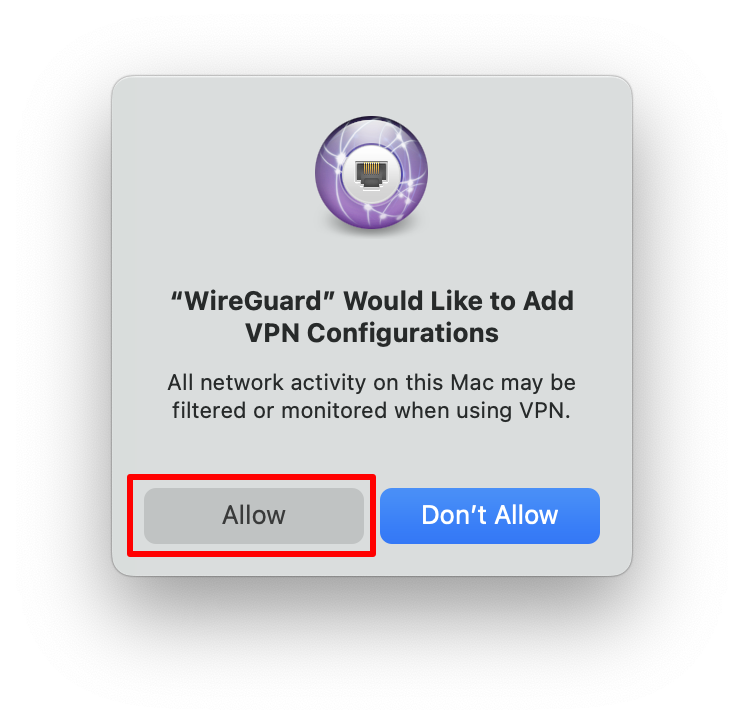
4. Select the WireGuard configuration file (.conf) file you download in step 2 → Import. At the confirmation dialog, click Allow.
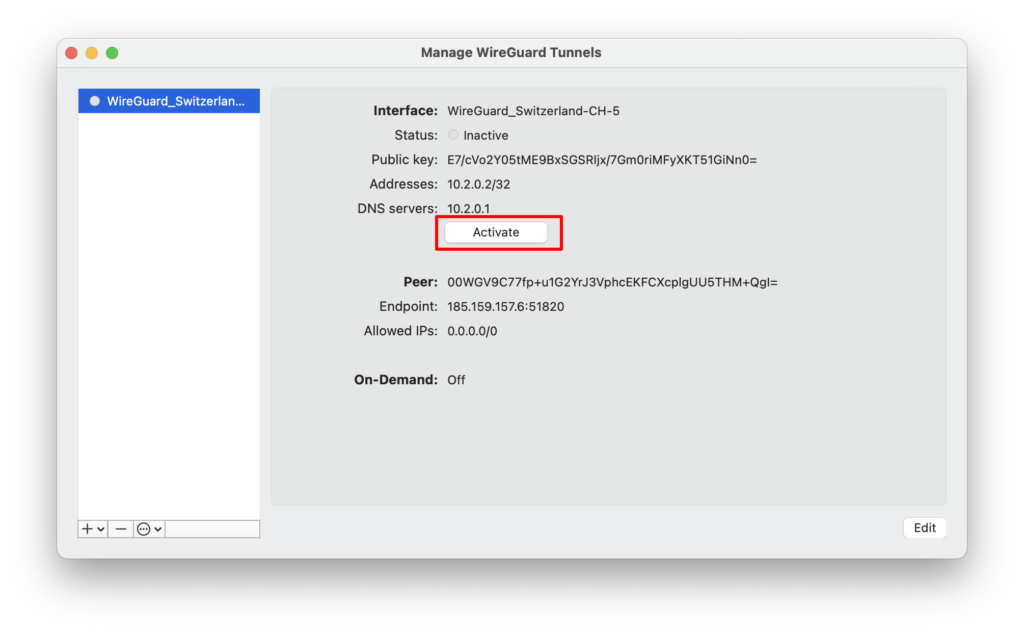
5. Ensure the configuration you just downloaded is selected, and click Activate.
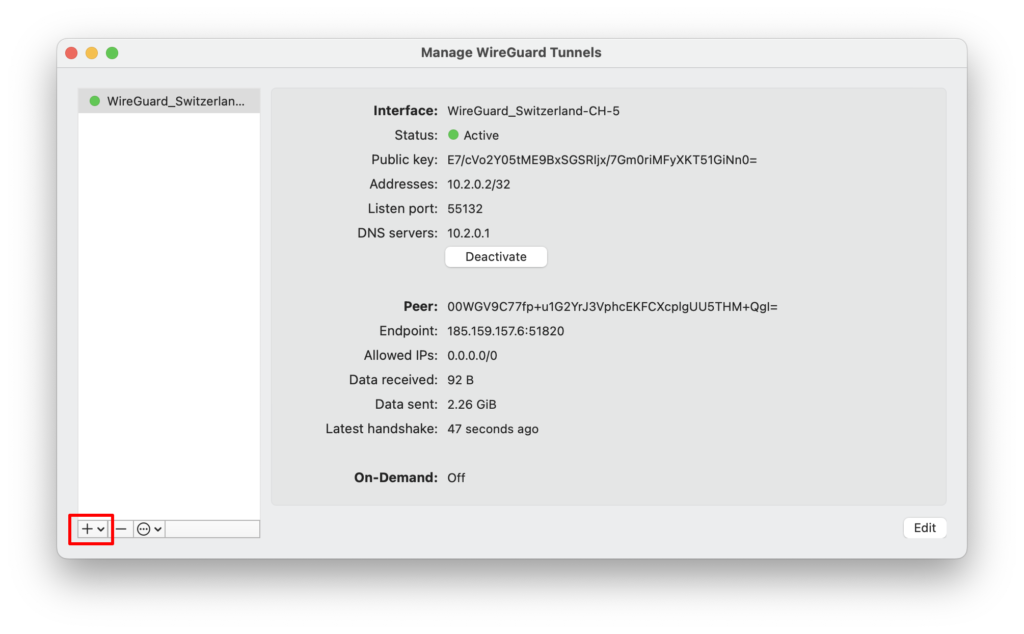
Your privacy is now protected by Proton VPN! To manage your WireGuard tunnels, click the WireGuard icon in the macOS menu bar → Manage Tunnels. Click + to add as many WireGuard configurations as you like using the steps outlined above.
Visit ip.me to confirm that the VPN connection is working correctly.
