


How to create and manage groups
With Proton VPN for Business, administrators can create user groups and customize each group’s access to Gateways and shared servers.
How to create a group
Before you get started, you’ll need to create your Proton VPN for Business organization and add some users.
1. Sign in to account.protonvpn.com
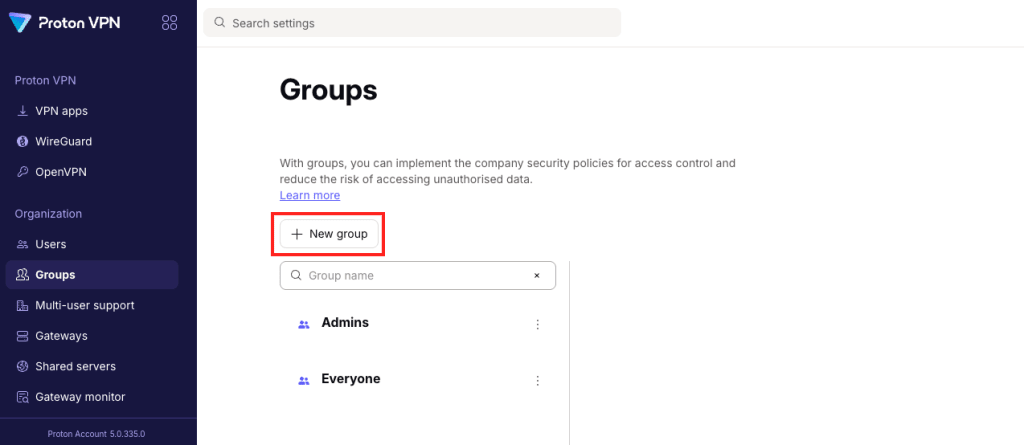
2. Select Groups from the sidebar, then click + New group.
3. Give your group a Name, and add a short description in the Purpose field.
4. To add users, start typing a username or email address into the Group members field, then select your user’s email address from the list. To add all users, click Add all organization members.
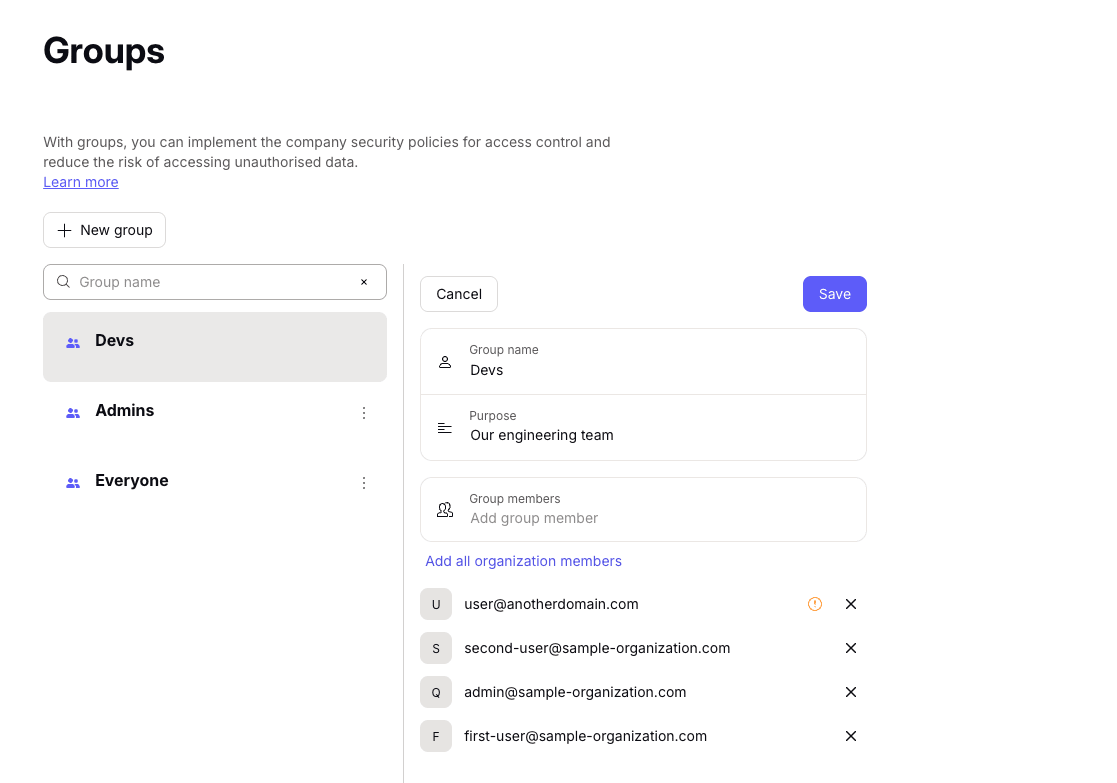
5. Click Save, then enter your password to confirm. Invited users will receive an email invitation to join the group.
How to customize VPN access for groups
Now your group is created, you can decide which Gateways and shared servers they can access.
How to manage groups
1. Sign in to account.protonvpn.com.
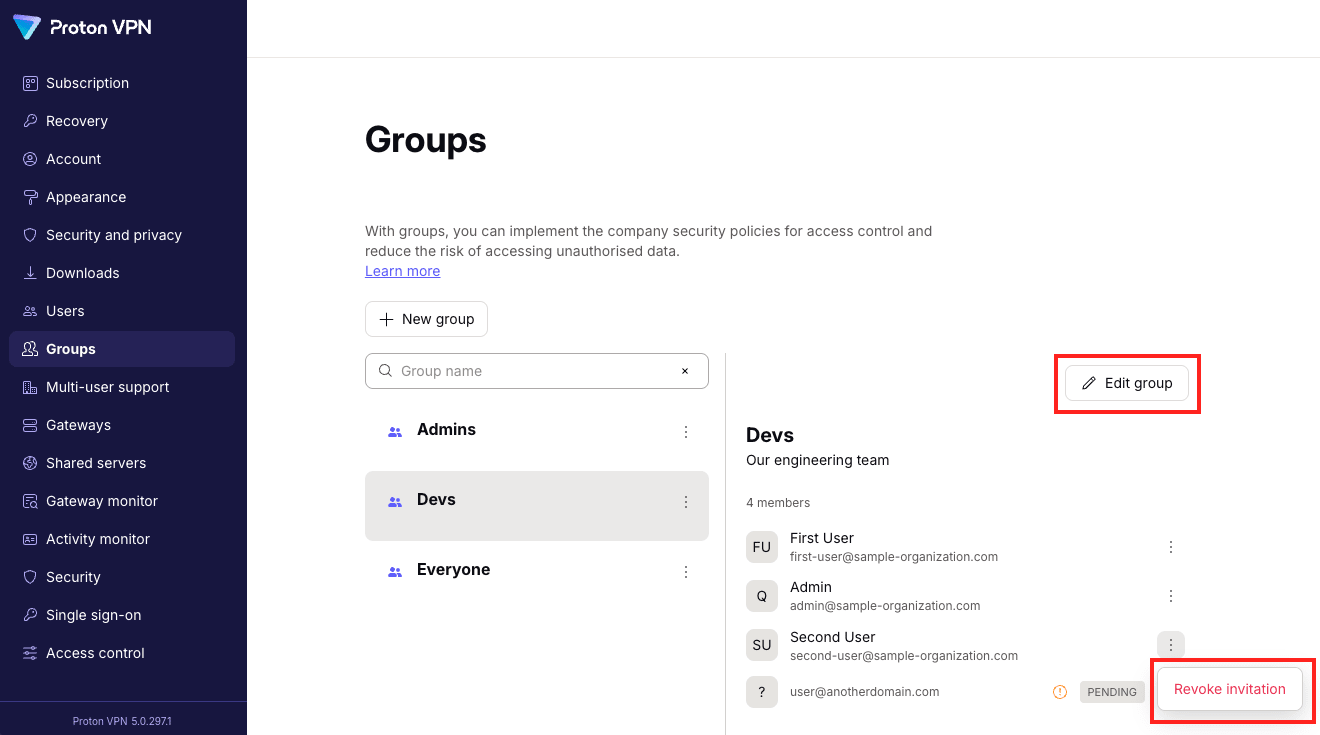
2. Select Groups from the sidebar, then select the group you want to manage.
- To add a user: Click Edit group. Start typing the new user’s email address into the Group members field, then select them from the list. To add all users, click Add all organization members.
- To remove a user: Click the three dots (⋮) next to the user’s name, then select Revoke invitation.
- To edit group details: Click Edit group, then edit the Group name and/or Purpose fields as you would when creating a new group.
Groups and custom domains
You no longer need a custom domain(새 창) to set up groups. You can add any user to a group and give them access to your Gateways.
However, if you have a custom domain (available with Proton Business Suite), each group will get an email address under your custom domain.